
Did you know you can make your own cranberry juice at home without any fancy equipment or confusing steps? It’s easier than you think, budget-friendly, and the results are so worth the wait. We love cranberry juice for its refreshing tartness and its impressive health benefits, like being great for digestion and urinary health. Plus, there’s something extra satisfying about sipping on juice you made yourself.
In this guide, we’ll walk you through our simple process of making cranberry juice from scratch. By the end, you’ll not only know how we make it but also feel confident enough to get started yourself. Let’s dive in and discover how easy (and fun!) this is.
Why Cranberry Juice is a Healthy and Tasty Choice
Cranberry juice isn’t just delicious; it’s packed with health benefits. It’s loaded with antioxidants, supports your immune system, and can even help maintain urinary tract health. Plus, making it at home means you know exactly what’s going into it—no added preservatives or unnecessary ingredients, just cranberries, sugar, and water.
Another bonus? Cranberries aren’t that expensive! A 2-pound bag can make enough juice to fill about six 32-ounce mason jars. That’s a lot of cranberry goodness for just a small investment.
Preparing Your Jars: The First Step
Before we jump into making the juice, let’s get those jars ready. Cleanliness is key when it comes to preserving any homemade food or drink.

Wash the Jars
We always start by washing our mason jars in hot, soapy water. We let them soak for a bit to loosen any residue, then rinse them thoroughly.
Disinfect the Jars
To disinfect, we place the jars in an oven set to 275°F for a few minutes. While the jars are heating, we also boil the lids in hot water. This step ensures everything is sterilized and ready to safely store our cranberry juice.
Assembling the Ingredients: Simple and Straightforward
Once our jars are clean and ready, it’s time to assemble the ingredients. This step is quick and easy, and the simplicity is part of what makes this process so enjoyable.
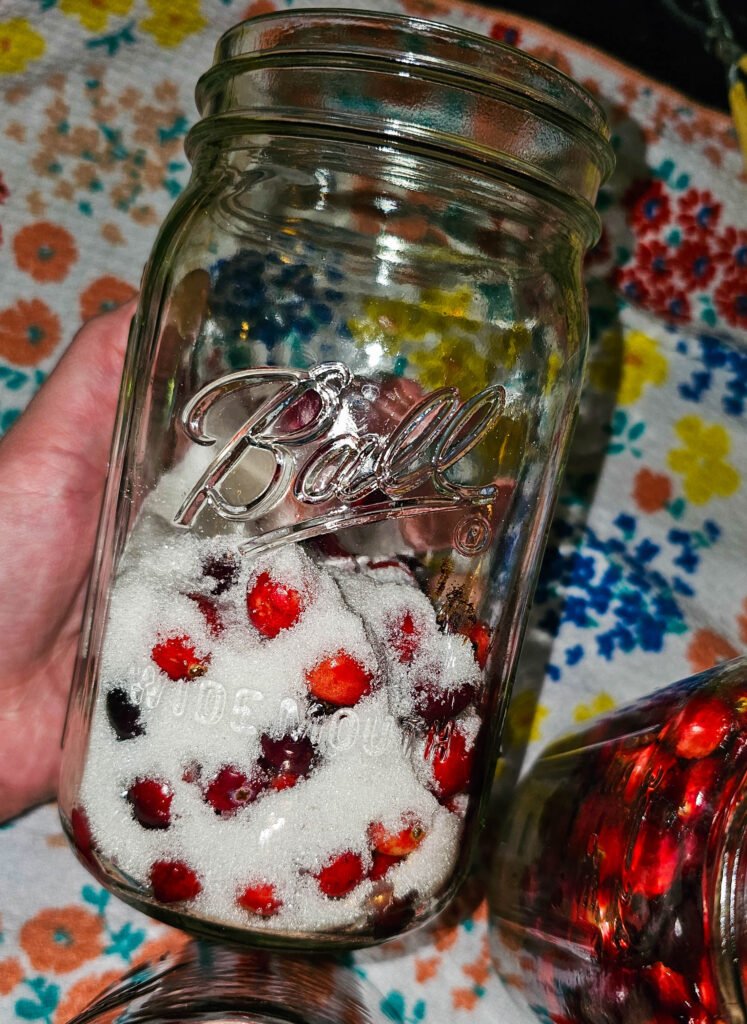
- Add the Cranberries and Sugar
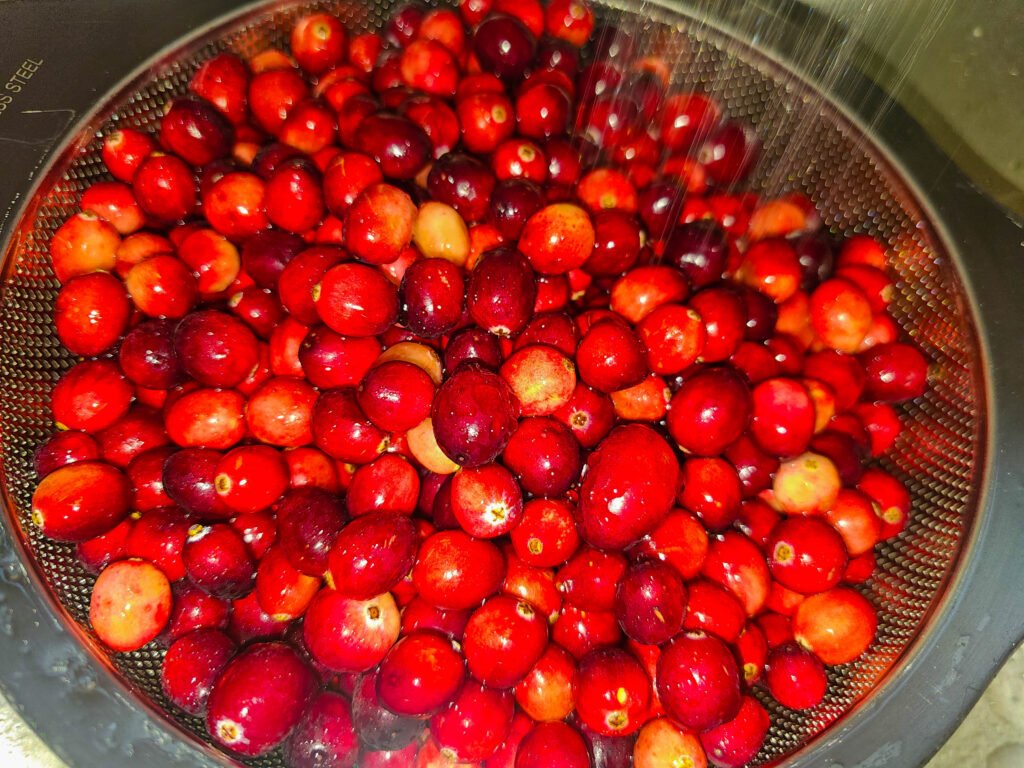
We measure out about 1 ¾ cups of cranberries and pour them into each jar. Then, we add ¼ cup of sugar on top. This sugar will help balance the tartness of the cranberries and also helps to extract the flavor, creating a perfectly balanced juice. You can add up to ½ cup of sugar if you want a sweeter tasting juice. - Pour Boiling Water
Next, we fill the jar with boiling water, leaving about 1 inch of space at the top. We love using our Caraway tea kettle for this step because it makes pouring so much easier and the water heats to temperature pretty quickly.
The Boiling Process: The Key to Preserving
With the jars filled and sealed, it’s time for us to let the magic happen through a simple boiling process.
- Place the Jars in a Large Pot
We use a large water bath canning pot (or any pot big enough to hold our jars), and boil the jars for 25 minutes. This step ensures the cranberries release their flavor and that the juice will be safely preserved. - Cool the Jars
After the boiling is done, we will carefully remove the jars and set them on a cooling rack or towel to let them cool completely before storing them.
The Waiting Game: Letting the Flavors Develop
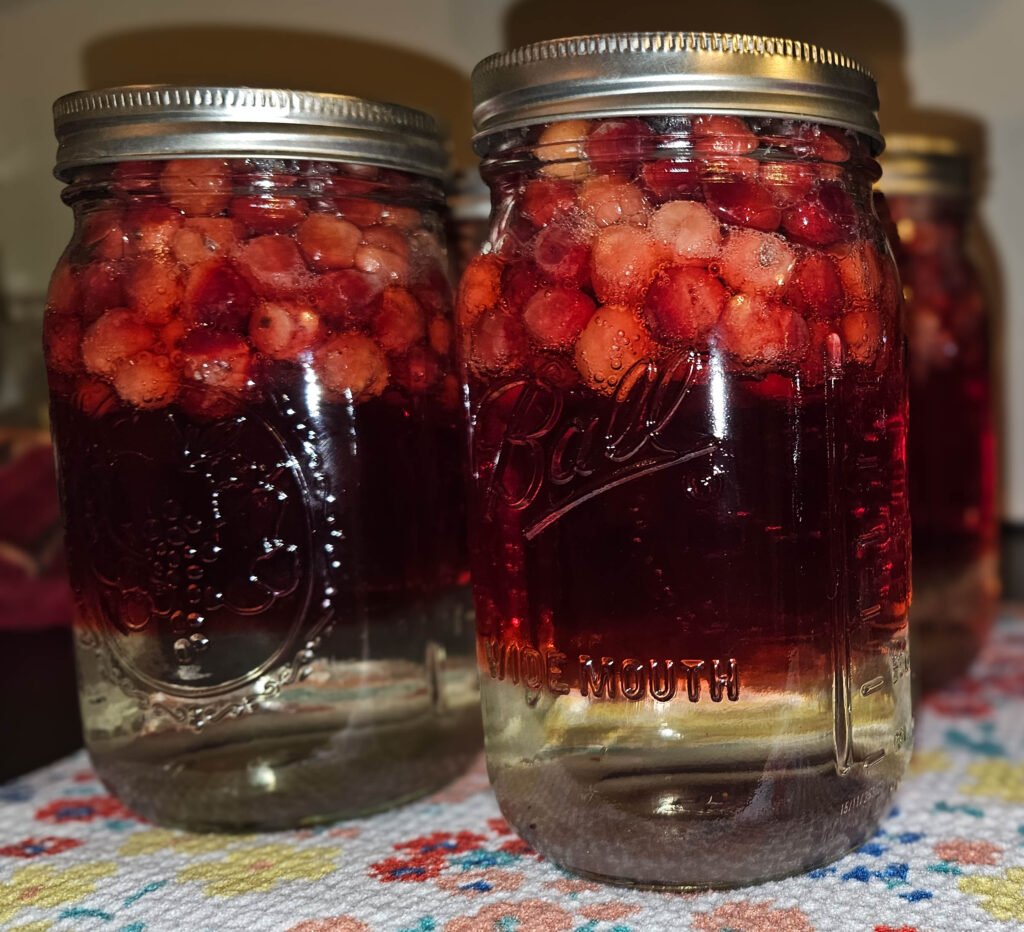
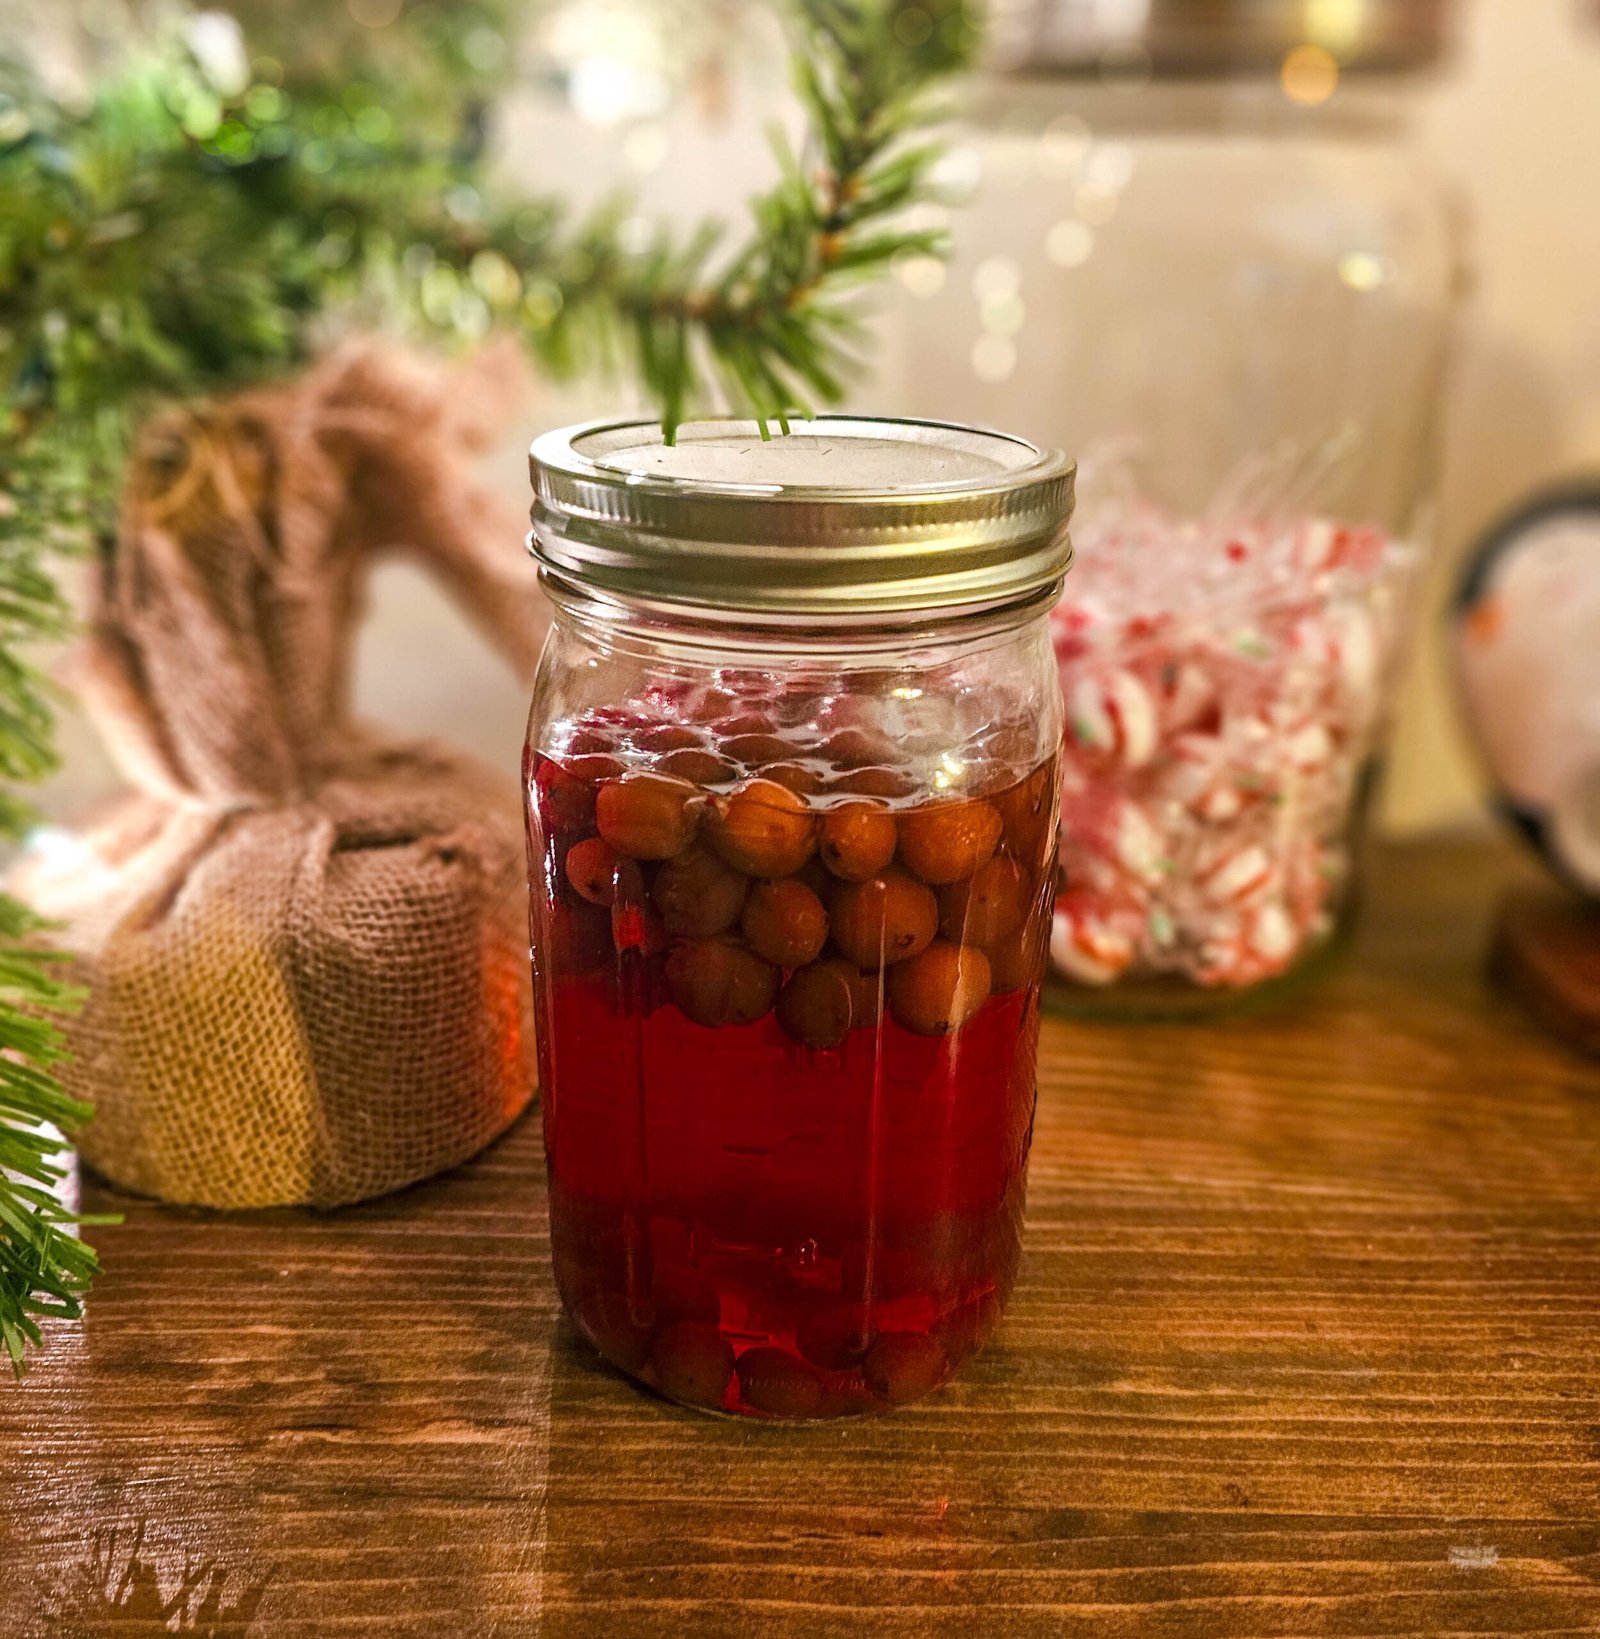
Here’s where patience comes in. While the mixture might not look like cranberry juice right away—it’ll likely seem watery—don’t worry. Over the next six weeks, the cranberries will fully release their flavor, transforming the liquid into a beautiful, deep-red cranberry juice.
The Final Touch: Storing and Enjoying Your Juice
When the waiting period is over, all we need to do is strain out the cranberries and our cranberry juice is ready to enjoy! Once we open a jar, we always make sure to store it in the fridge to keep it fresh. We love how vibrant and flavorful the juice is, with just the right amount of tartness and sweetness.
Conclusion
Making cranberry juice at home is not only satisfying but also incredibly rewarding. With just a few simple steps, we can create a healthy, delicious drink that’s perfect for sipping on its own or mixing into your favorite beverages. Plus, knowing we made it ourself makes it taste even better.
So why not give it a try? You’ll never look at store-bought cranberry juice the same way again. Let us know how your batch turns out—we can’t wait to hear about your cranberry juice-making adventure!
Visit the Shop area, specifically the Preserve section, to see what items we like to use and also reccomend while tackling these types of projects. We also have a great write up on the amazing health benefits of Cranberries.
Leave a Reply
You must be logged in to post a comment.