
How many people toss those turkey bones after a big holiday meal? It’s easy to think they’re just scraps, but they’re actually the secret to a rich, flavorful broth packed with nutrients. Making turkey bone broth at home is surprisingly simple, and it’s one of the healthiest ways to make use of leftovers.
In this guide, we’ll walk you through the benefits of bone broth, the steps we take to make it, and how to safely pressure can it for long-term storage. Don’t worry—it’s easier than you think. Plus, we’ll share a foolproof recipe so you can try it yourself. Ready to turn those leftovers into something amazing? Let’s get started!
Why Bone Broth Is Worth Making at Home
Health Benefits of Bone Broth
Bone broth is like a superfood in liquid form. It’s loaded with collagen, which can improve joint health and promote glowing skin. It’s also full of minerals like calcium, magnesium, and potassium that are great for your bones and overall health.
Another huge benefit is how it can help your digestion. Bone broth is soothing to the gut and may even support a healthier digestive system. Plus, it’s the perfect low-calorie, nutrient-dense drink to warm us up on chilly days.
Why Homemade Bone Broth Is Better
Store-bought broth just doesn’t compare. Many of them are filled with preservatives, artificial flavors, and too much salt. When we make it ourselves, we control every ingredient, ensuring it’s pure, fresh, and packed with nutrients. Plus, it’s way more flavorful!
Safe Practices for Pressure Canning Bone Broth
Why Pressure Canning Is Essential
If you want to store your broth for months without refrigeration, pressure canning is a must. Unlike water-bath canning, which works for high-acid foods, pressure canning safely preserves low-acid items like broth by killing harmful bacteria.
Safety Tips for Pressure Canning
- Follow your pressure canner’s manual for the correct pressure settings based on your altitude.
- Always use tested canning recipes to ensure proper processing times and temperatures.
- Sterilize your jars, lids, and equipment before starting.
When done properly, canned broth can last for up to a year in your pantry, giving you a ready-to-use base for soups, stews, and more.
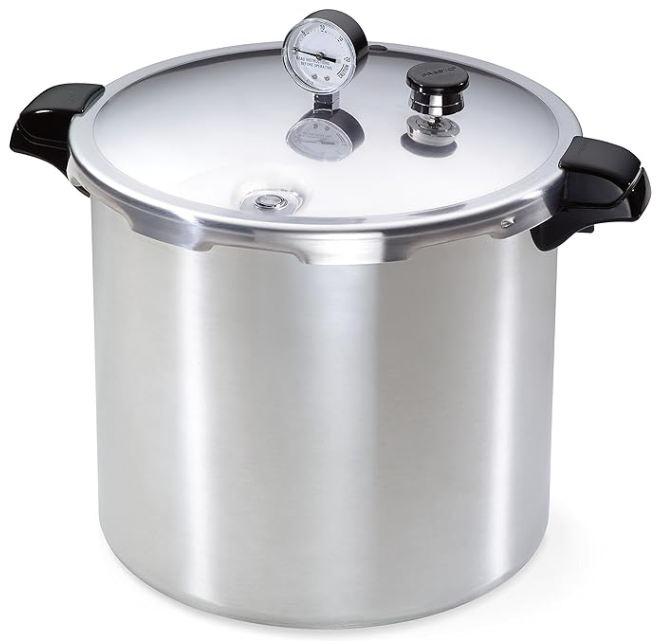
Equipment Needed

Turkey Bone Broth
Equipment
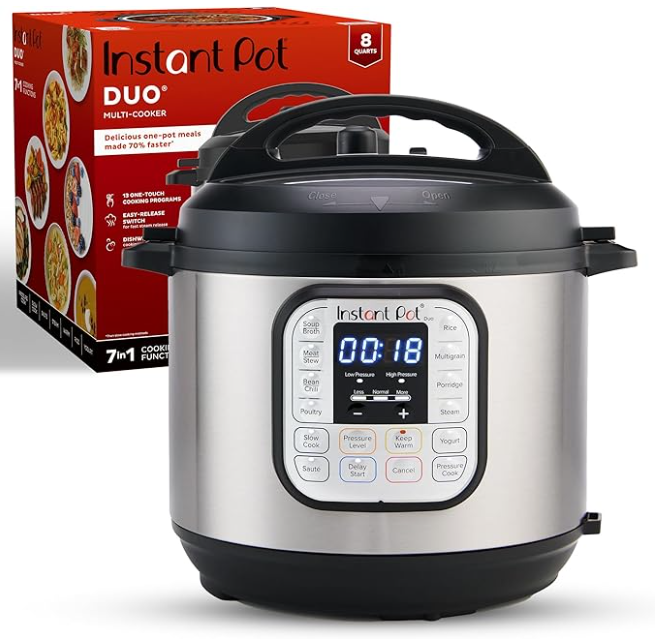
- 1 Insta-Pot (8-qt)
- 1 Pressure Canner
Ingredients
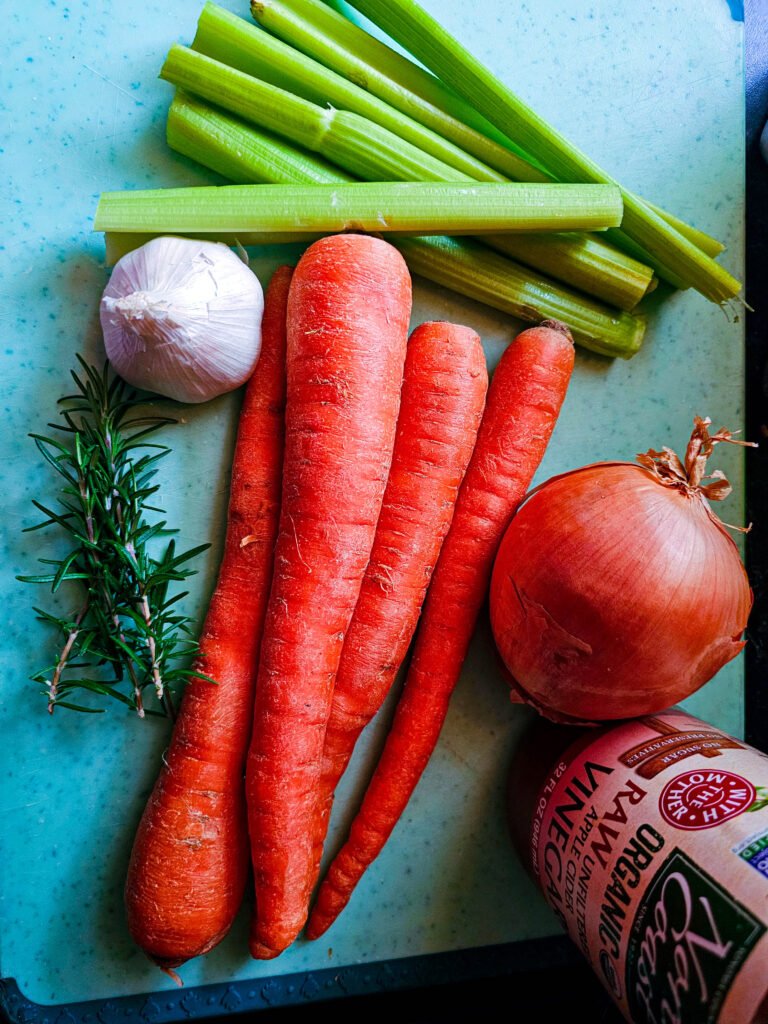
- 1 turkey carcass (from roasted or smoked turkey)
- 10-12 cups water (approximately, fill to max fill line)
- 3 tbsp
apple cider vinegar - 4 carrot or carrot scraps
- 4 celery stalks
- 1 onion with peels
- 1 whole head of garlic (skins and all, chop in half)
- 3 sprigs fresh rosemary (can use ¼ tsp dried)
- ¼ teaspoon dried thyme (can use fresh)
- 4
peppercorns (or more for taste) - 1 tablespoon
sea salt - 2
bayleafs
Instructions
Bone Broth
- Combine all ingredients into instant pot and fill with water to the max fill line.
- Set the instant pot at 120 minutes and once completed allow for a natural pressure release.
- Strain the broth with a fine mesh strainer or cheesecloth.
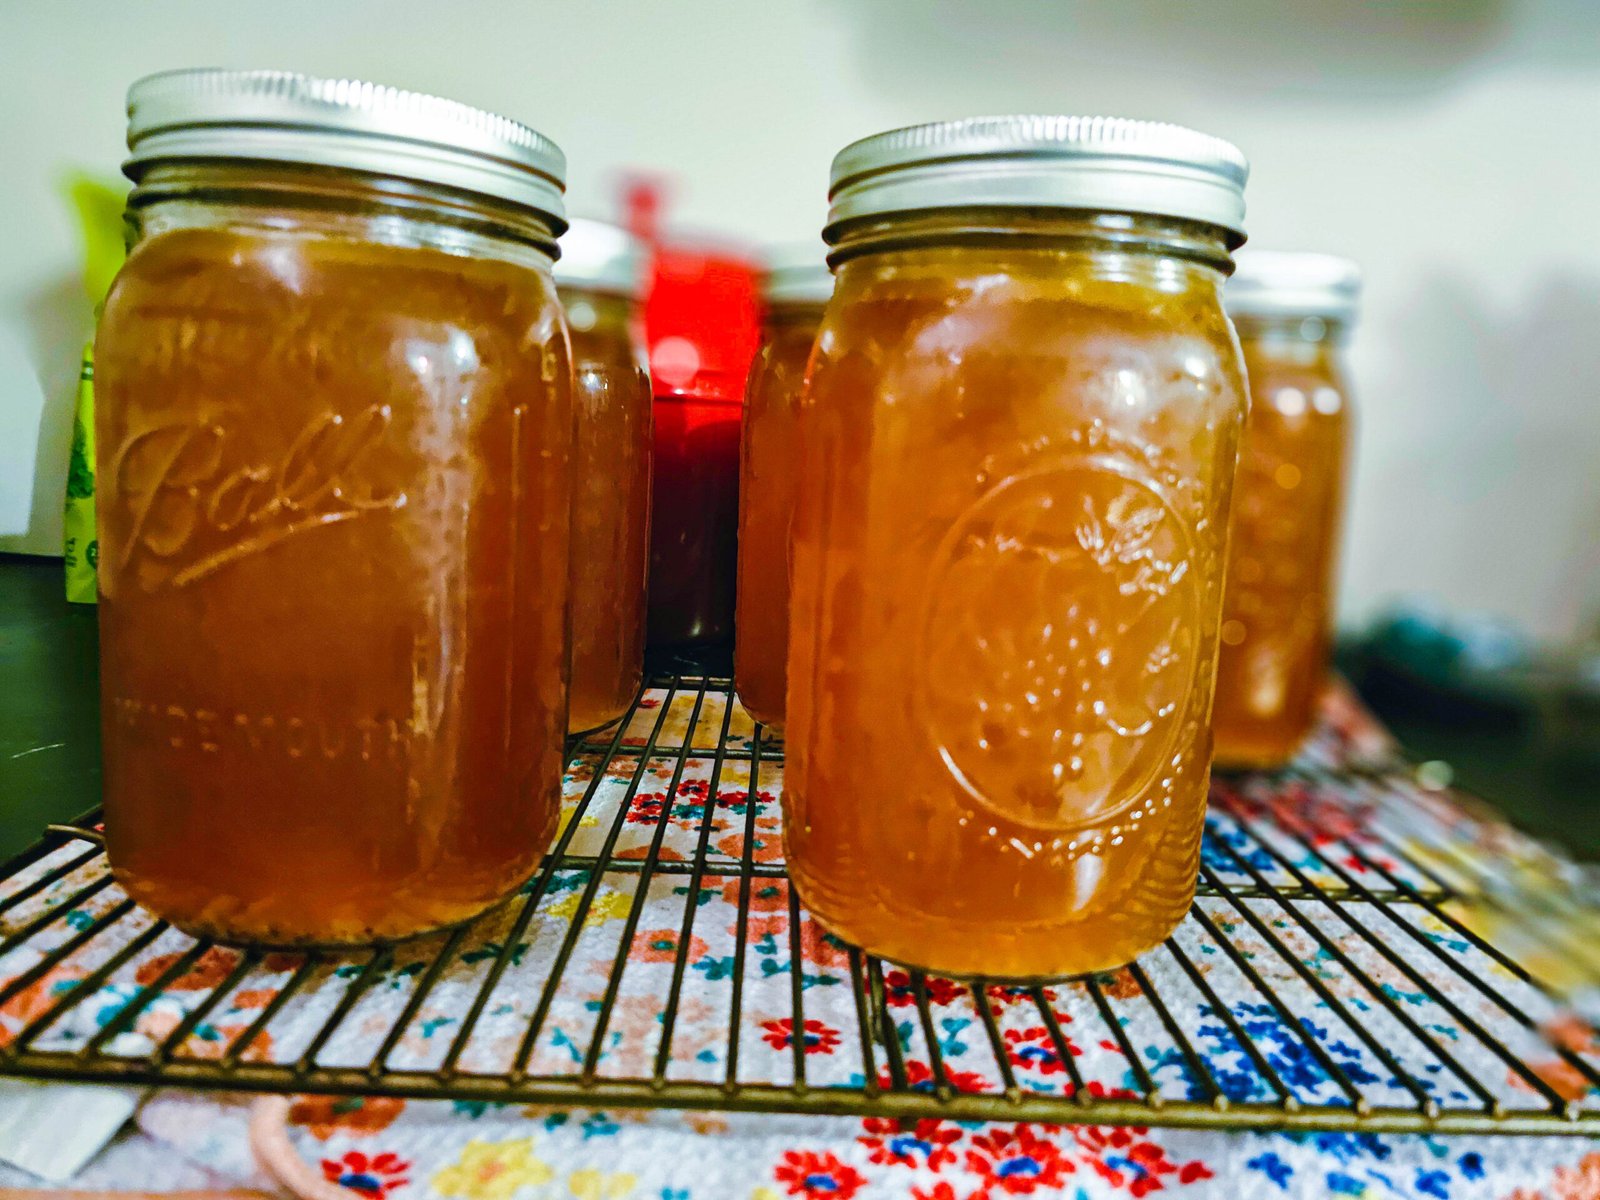
- You can either store in mason jars in the fridge for immediate use or pressure can the broth to be shelf stable.
Canning Bone Broth
- Prepare your pressure canner by adding water and and turning heat to medium. Take this time to also inspect your mason jars to ensure there are no cracks or knicks in the glass.
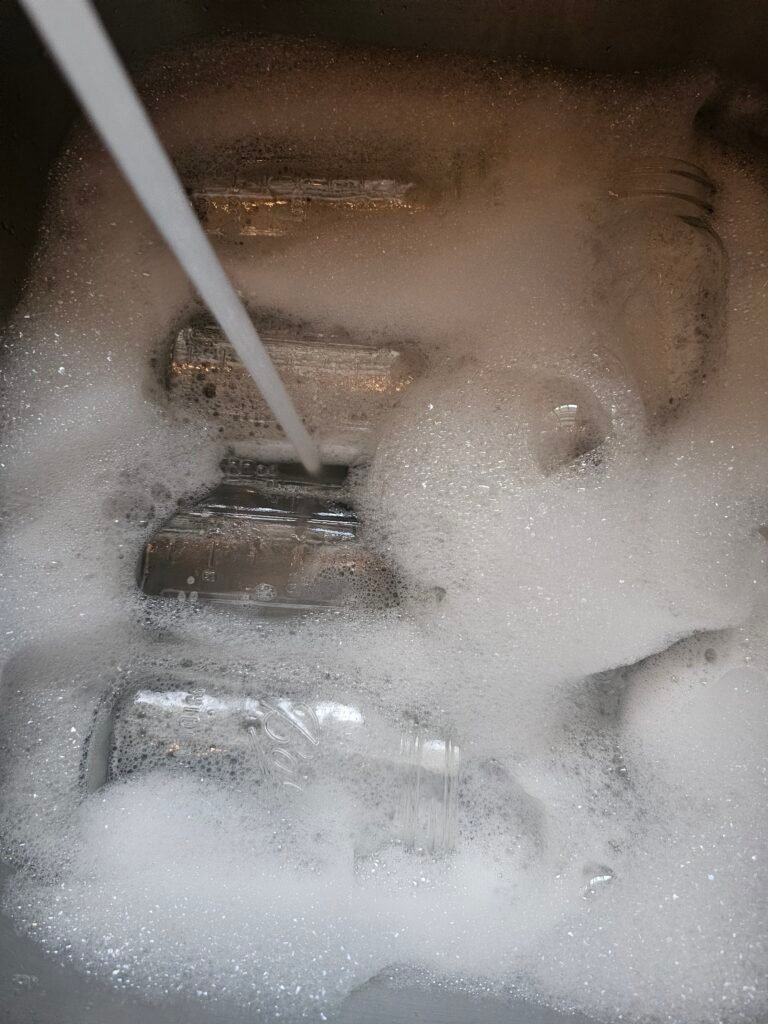
- Prepare your mason jars by washing them in hot soapy water and then placing them upright on a baking sheet in a 275℉ oven for 10 minutes to sterilize. Place the lids and in boiling water for a few minutes.
- Using a ladle, pour the heated broth from the instant pot into each hot mason jar using a mason jar funnel.
- Make sure you leave at least one inch of space at the top of your mason jar.
- Clean the rims by wiping them with a vinegar soaked towel.
- Take the lids from the boiling water and then seal them with the rims finger tight. A lid magnet makes this part much easier.
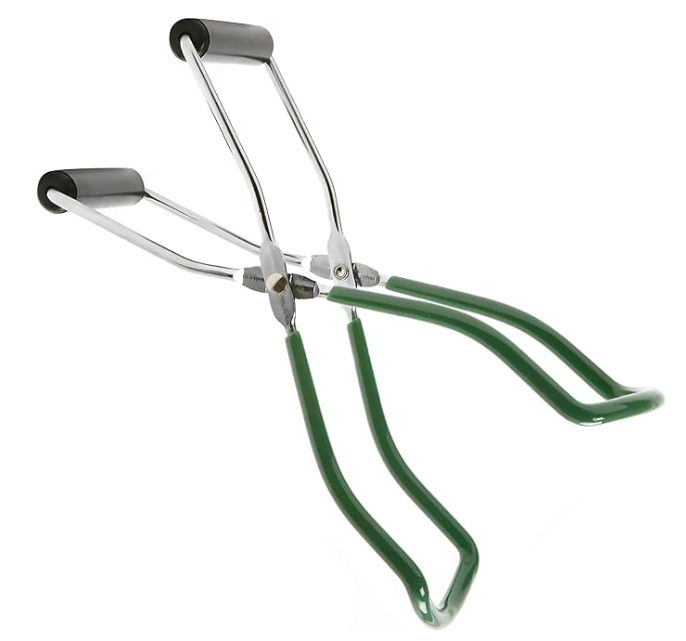
- Place the mason jars into the pressure canner one at a time using a canning jar lifter. Make sure you carefully read the manufacturing instructions of your pressure canner, and secure the lid once the water comes to a boil.
- Once your lid starts releasing a steady stream of steam place the weighted rocker onto the steam vent and allow the pressure to build up to 11 psi. It is important to monitor this entire evolution very carefully.
- When the pressure reached 10-11 psi, start your timer for 25 minutes if using quart jars. If you are using pint jars, set your timer for 20 minutes. Make sure you adjust your heat so that the pressure remains steady at 10-11 psi for the entirety.
- Turn off your heat when the timer as expired and allow pressure to come down to zero pressure naturally.
- Once the pressure canner has reached 0 psi, allow the jars to sit for another 10 minutes before removing the lid to the pressure canner. Remove the jars and set them on a towel to cool down undisturbed for preferably around 12 hours.
Leave a Reply
You must be logged in to post a comment.