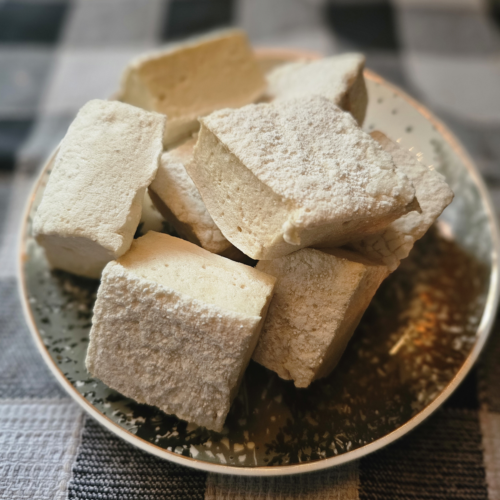
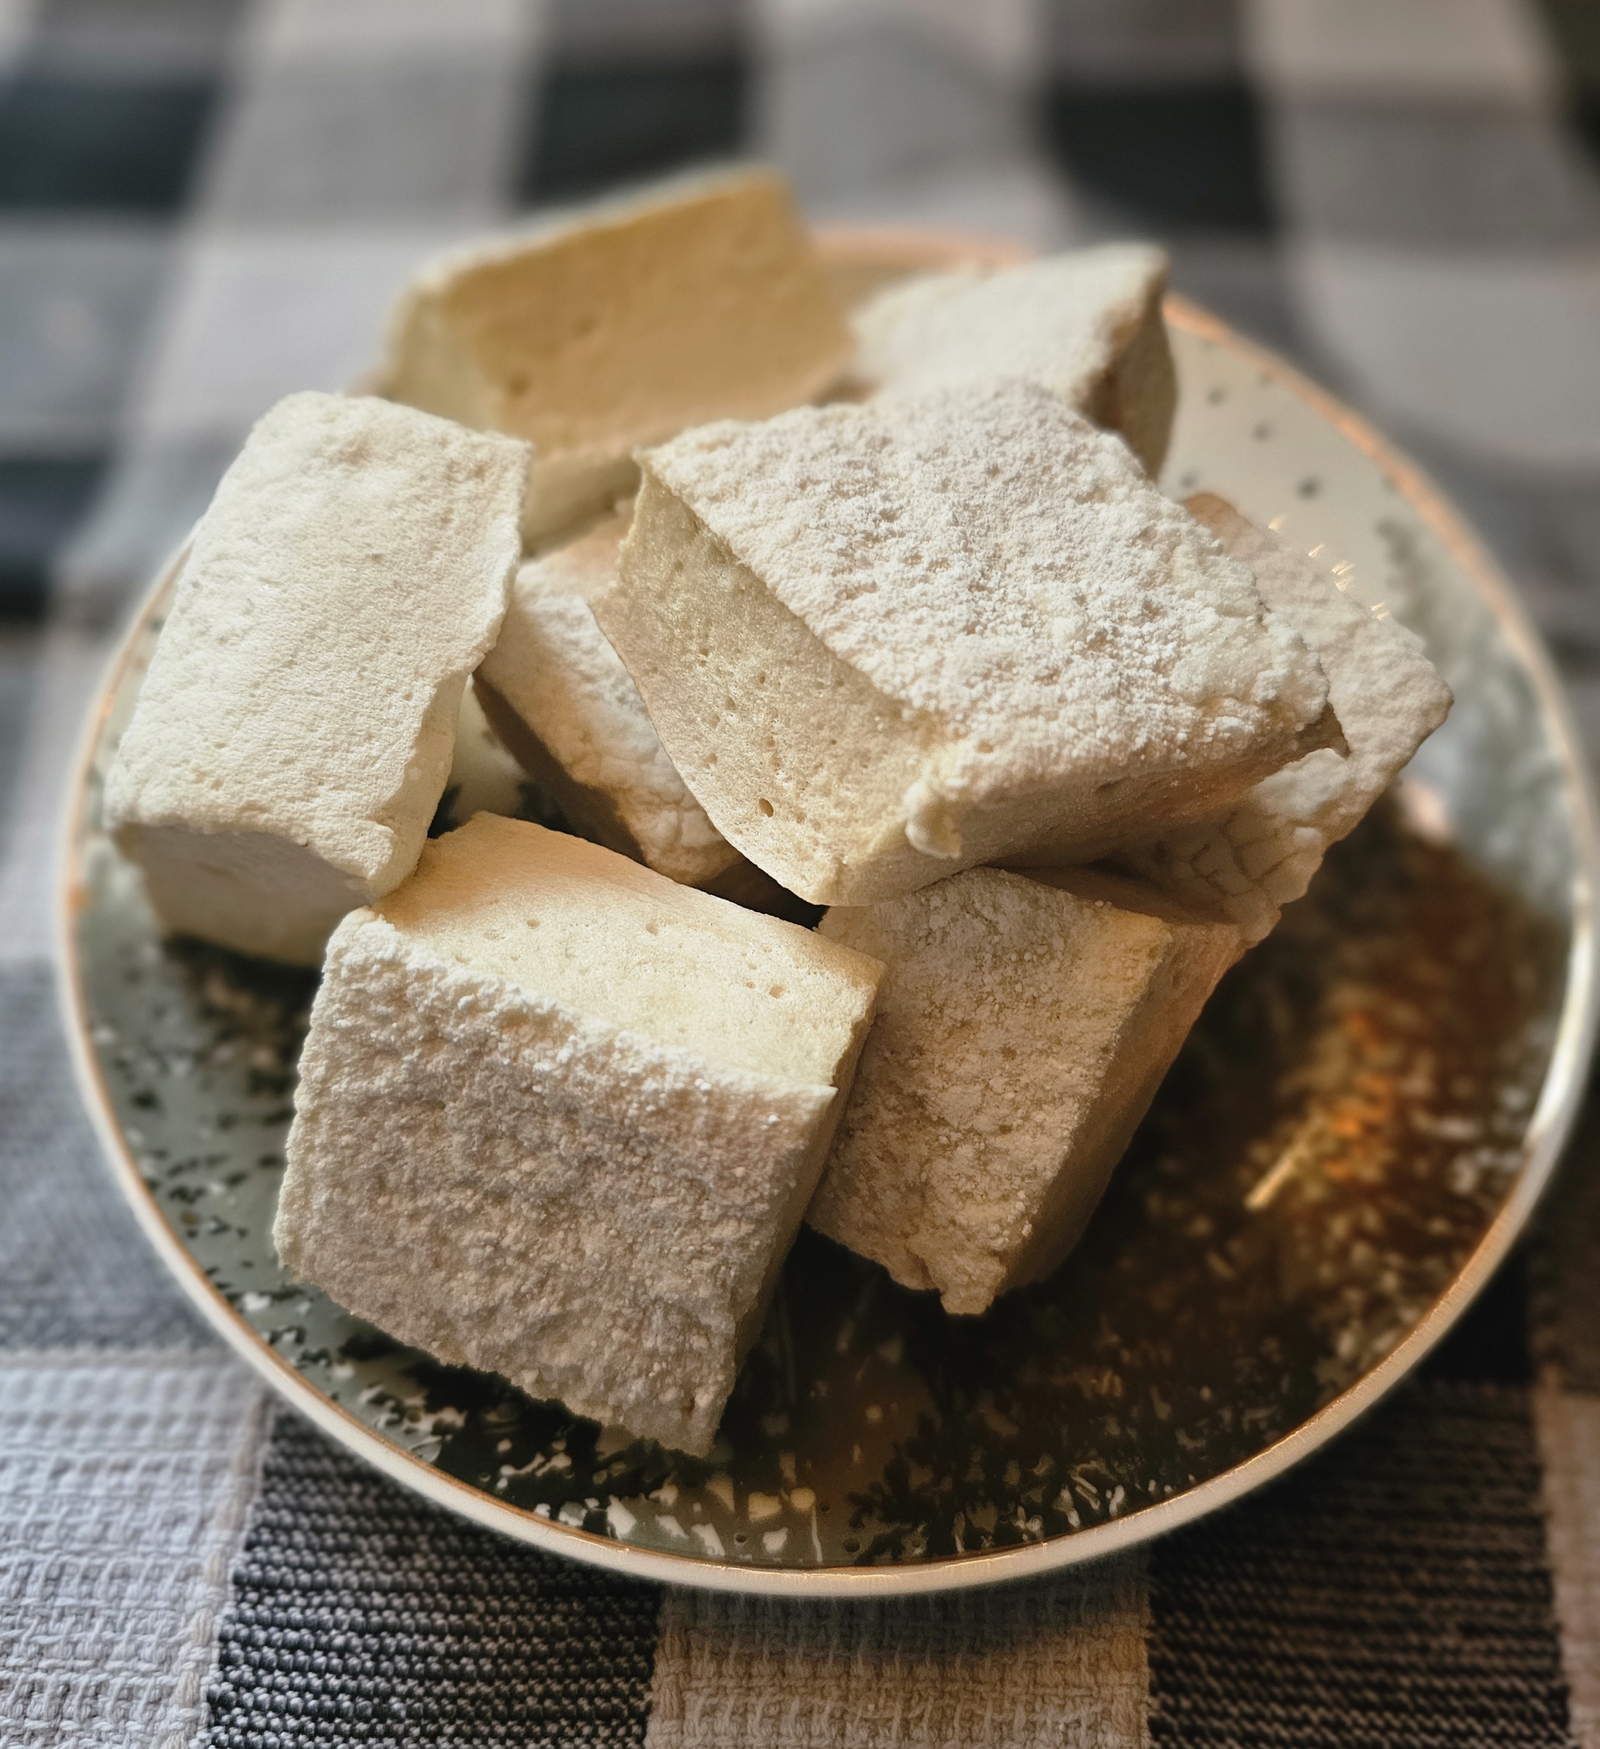
Imagine sinking your teeth into a soft, pillowy marshmallow that’s fresher than anything you can buy, perfectly tailored to your taste, and even a little healthier. That’s the magic of homemade marshmallows! If you think it sounds complicated, don’t worry—we’re here to show you just how easy (and fun) it can be. In this post, we’ll dive into why making marshmallows at home is a game-changer, the unique benefits of adding marshmallow root, and the endless ways to customize your treats.
Why Make Your Own Marshmallows?
There’s nothing wrong with store-bought marshmallows—they’re convenient and ready to go. But when we make our own, it unlocks a whole new level of flavor and creativity. Here are just a few reasons we think it’s worth the effort:
- Freshness and Flavor: Homemade marshmallows are free of preservatives, artificial flavors, and unnecessary fillers. Plus, they just taste better—softer, fluffier, and richer in flavor.
- Customization: From classic vanilla to unique flavors like peppermint or chocolate, you’re in charge. Want to sweeten them with maple syrup or honey instead of sugar? Go for it!
- Cost Efficiency: Gourmet marshmallows can be expensive, but making them at home can save you money in the long run.
- Fun Factor: Making marshmallows is a fantastic activity for families, friends, or anyone looking for a creative way to spend some time in the kitchen.

The Secret Ingredient: Marshmallow Root
If you’ve never heard of marshmallow root, you’re in for a treat. This plant has been used for centuries in herbal medicine for its soothing properties, particularly for digestion and throat health. But did you know it also works wonders in homemade marshmallows?
- What It Does: Marshmallow root helps thicken and structure your marshmallows naturally, adding an earthy flavor that pairs beautifully with sweeteners.
- Health Benefits: By including marshmallow root, you’re sneaking in a dose of wellness. It’s known for soothing inflammation, aiding digestion, and even helping with dry skin when consumed regularly.
- Natural Goodness: It’s a simple way to turn a treat into something functional and nourishing.
Leaving marshmallow root out of your ingredients will still make delicious marshmallows that are healthier for you than store options, but why not give it a shot?
Sweetener Options: Maple Syrup, Honey, or Sugar?
One of the best things about homemade marshmallows is how adaptable they are, especially when it comes to sweeteners. Depending on your flavor preferences or dietary goals, you can use:
- Maple Syrup: This option adds a deep, caramel-like flavor and pairs beautifully with vanilla or cinnamon.
- Honey: Natural and slightly floral, honey gives marshmallows a unique sweetness and is a healthier alternative to refined sugar.
- Sugar: The traditional choice for marshmallows, sugar is great for achieving that light and fluffy texture we all love.
If you’re using maple syrup or honey, remember they’re more liquid than sugar, so you might need to adjust your recipe slightly. Experiment with ratios to find what works best for your preferred texture and flavor.

Variations We Love
Homemade marshmallows are the perfect canvas for your creativity. Here are some ideas to make them uniquely yours:
- Flavors: Try adding vanilla bean, peppermint extract, cocoa powder, or even a touch of espresso for a bold twist.
- Coatings: Roll your finished marshmallows in cocoa powder, crushed nuts, or shredded coconut for an extra layer of flavor and texture.
- Shapes and Sizes: Use cookie cutters to create stars, hearts, or seasonal shapes. Mini marshmallows are perfect for hot cocoa, while larger ones make excellent roasting companions.
Wrapping Up: The Joy of Homemade Marshmallows
Making marshmallows at home isn’t just about the taste—it’s about the joy of creating something from scratch. It’s a chance to customize, experiment, and craft a treat that’s truly your own. Whether you’re using marshmallow root for its health benefits or swapping sugar for honey to suit your tastes, the possibilities are endless.

Homemade Marshmallows
Ingredients
- 1 tbsp
marshmallow root powder optional - 1 cup water divided
- 4 tbsp
powdered gelatin - 1 cup
honey ,maple syrup , or sugar - 2 tsp
vanilla or other flavors - 1/4 tsp
salt powdered sugar , orarrowroot powder
Instructions
- Combine the marshmallow root with 1 cup of warm water and allow it to sit for at least 5 minutes. Using this ingredient is optional, but has some great health benefits.
- Stir the mixture after it has sat and then strain out any remaining marshmallow root. This should leave you with about a cup of liquid.
- Add in ½ a cup of the marshmallow root mixture (or plain water if not using marshmallow root) into a bowl of your stand mixer and then add in the gelatin. Using the whisk attachment, combine the mixture together and set aside for now.
- Pour the remaining ½ cup of water and 1 cup of your sweetener (honey, maple syrup, or sugar), into a pot or saucepan and whisk to combine.
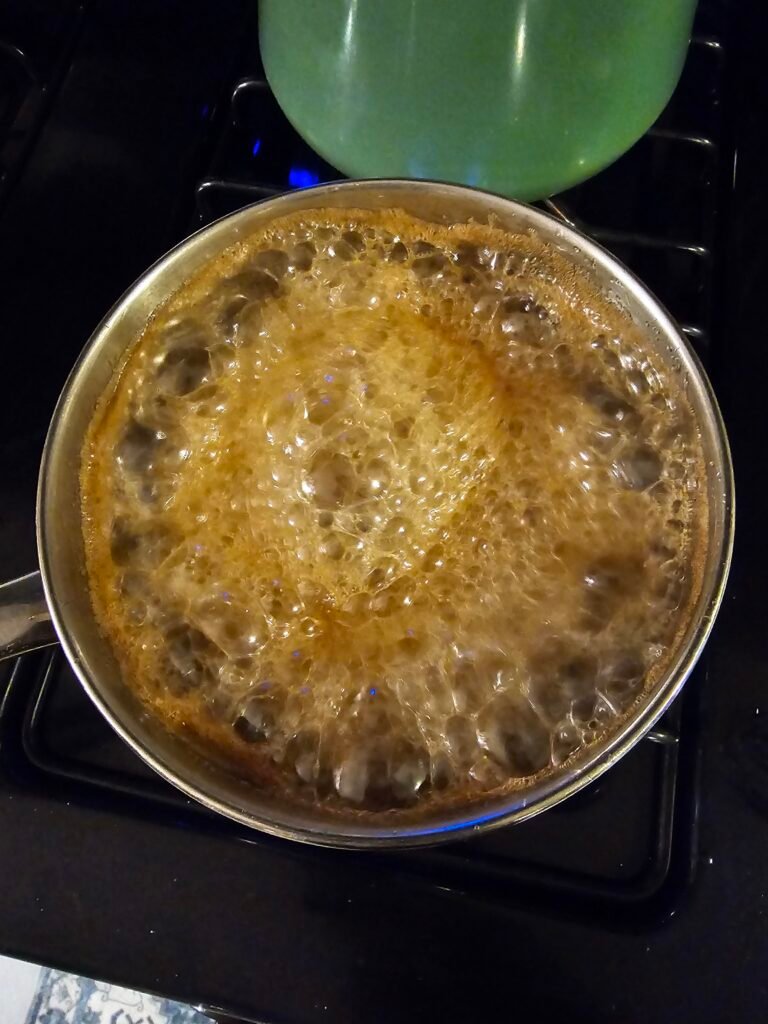
- Bring the water and sweetener to a boil slowly, and try to stir the mixture as little as possible throughout this process, any agitation of the sugar can cause it to crystallize. Add in a ¼ tsp of salt once it has started to boil and use a kitchen or candy thermometer and monitor the mixture until it reaches 240℉. Do not leave this unattended as the mixture can boil out of the pot very quickly. If this starts to happen, simply turn down the heat.
- Turn on stand mixer with the water and gelatin mixture to medium speed and whisk while slowly pouring the sweetener and water mixture into the mixing bowl. Once combined, turn the stand mixer onto a high setting and allow it to mix for approximately 10 minutes, add in your vanilla while mixing. It should form a marshmallow cream that has about tripled in size, is cool to the touch, and holds a bit of a shape when drizzled from the whisk into the bowl. It is very important to not over mix, as it will set in the bowl and prevent it from spreading in the baking dish.
- Pour the completed marshmallow cream mixture into a 9×13 baking dish (9×9 for thicker marshmallows) that has been coated with powdered sugar, or arrowroot powder. You can also use parchment paper with some of the powder sprinkled on. Smooth evenly across the baking dish with a silicon spatula.
- Let rest approximately 12 hours if possible.
- Flip onto a cutting board and cut into desired shapes with a well oiled utensil or knife.
- Store in an airtight container at room temperature.


Leave a Reply
You must be logged in to post a comment.