
Let’s be honest—store-bought rolls just don’t cut it. They might be convenient, but have you ever bitten into one and thought, this could be better? We’ve all been there. That’s why we decided to start making our own yeast rolls, and let us tell you, the difference is night and day.
Not only are homemade rolls fresher and more delicious, but they also fill your home with the irresistible smell of freshly baked bread. If you think making yeast rolls sounds complicated, don’t worry—we’ve got you covered with a simple recipe that’s almost foolproof. Trust us, once you’ve tasted these fluffy delights, you’ll never go back to the store-bought kind.
Why Make Yeast Rolls at Home?
We get it—life is busy. Grabbing a bag of rolls at the store is quick and easy. But here’s the thing: when you bake your own, you control everything. No weird preservatives or artificial flavors, just real, wholesome ingredients. Plus, the taste? Absolutely unmatched.
There’s something so satisfying about biting into a warm, buttery roll you made yourself. They’re softer, fluffier, and, quite frankly, just better. And don’t even get us started on the compliments you’ll get when you serve them at dinner.
The Joy of Baking Together
There’s something so rewarding about making food from scratch, especially when it brings people together. Baking these yeast rolls is more than just making bread—it’s about creating moments of connection. This is the one thing we make on the holidays that the kids actually ask to help with! Whether it’s family dinner or a holiday feast, these rolls are sure to steal the show.
The Secret to Perfectly Fluffy Rolls
Making fluffy yeast rolls isn’t as intimidating as it sounds. The secret lies in two things: patience and good ingredients. Here’s what we’ve learned:
- Use fresh yeast: Stale yeast won’t rise properly, leaving you with dense rolls. We often use active dry yeast, but if you use the ones in the jar make sure they go in the fridge after being opened.
- Don’t rush the rise: Letting the dough rise fully gives your rolls that soft, airy texture. This part is important, and we have found that finding a warm place for this to occur is critical to the process.
- Knead with love: Kneading develops the gluten that makes your rolls stretchy and light. Using a stand mixer makes this part easy, and really speeds up the process.
Our recipe is simple to follow and uses pantry staples you probably already have.
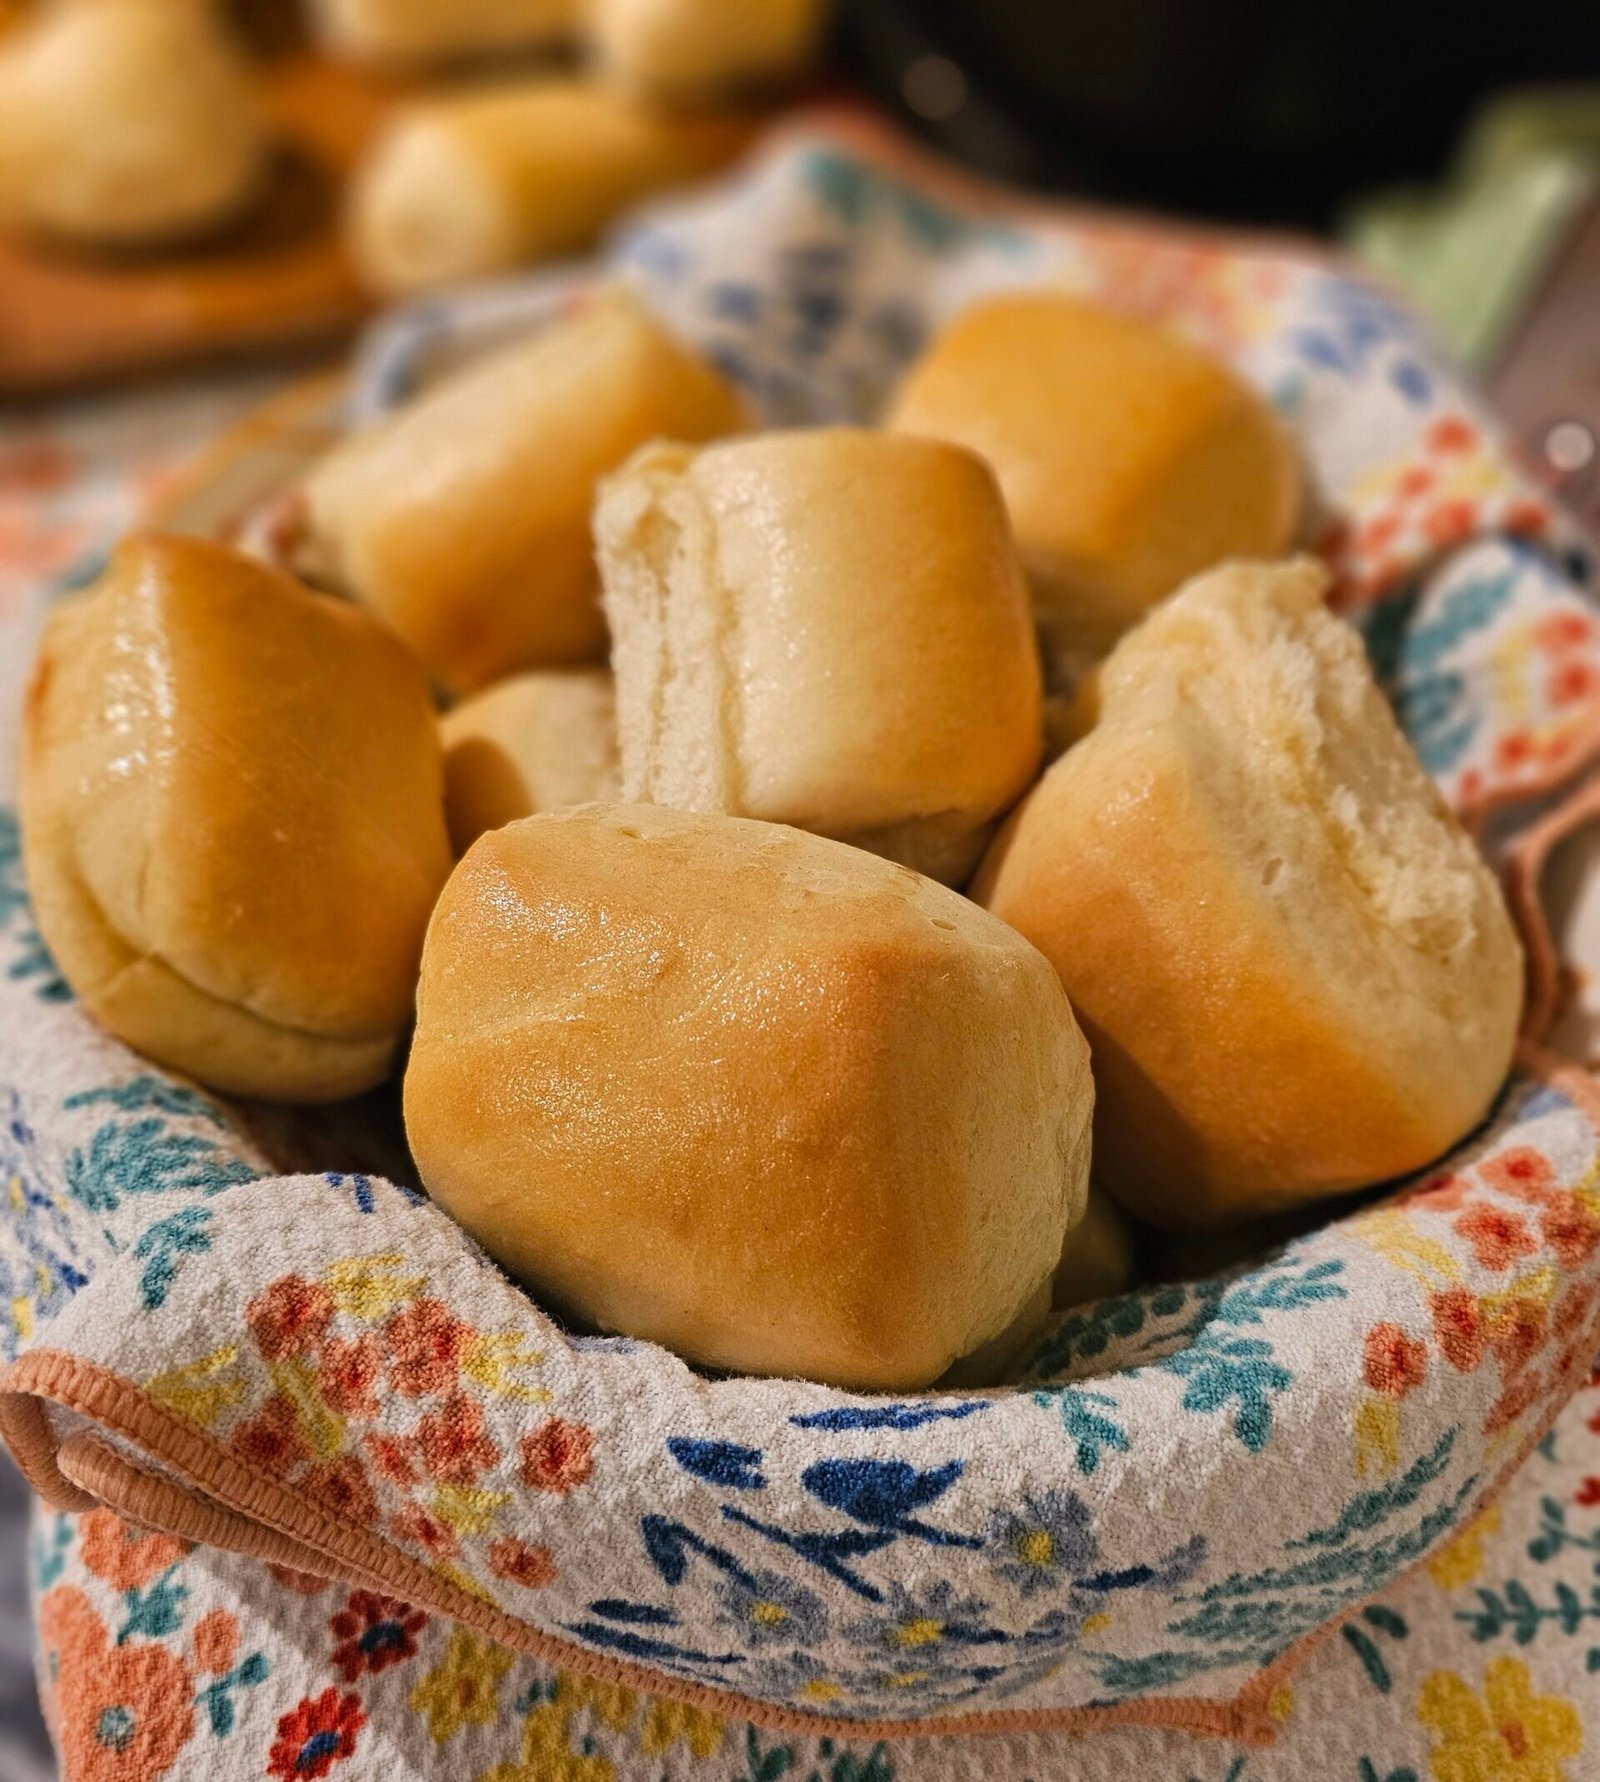
Deliciously Fluffy Yeast Rolls
Equipment
- 1 Stand Mixer
- 1 Large Mixing Bowl
- 2 Baking Sheet Pan
- 2 Silicon Mats optional
Ingredients
- 4 tsp.
active dry yeast - 1/2 cup warm water
- 2 cup milk
- 3 tbsp melted butter
- 1/2 cup sugar
- 7-8 cup all purpose flour
- 2 whole eggs
- 2 tsp.
salt
Instructions
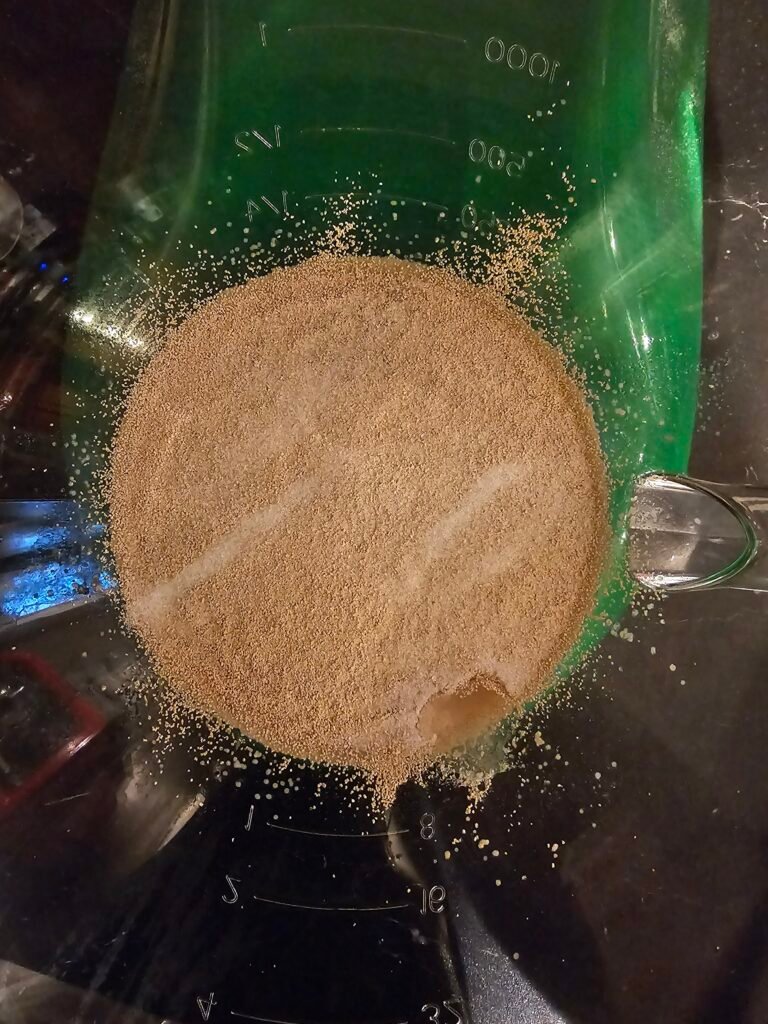
- Pour the ½ cup of warm water into your stand mixer and dissolve 4 tsp of yeast along with a teaspoon of sugar. Let sit for approximately 5 minutes
- We typically melt the butter and scald the milk at the same time. Either do this in a pan on the stove, or combine in a glass dish and put it in the microwave for a couple of minutes.
- Combine all ingredients except for the flour into the stand mixer where the yeast has been resting and mix thoroughly.
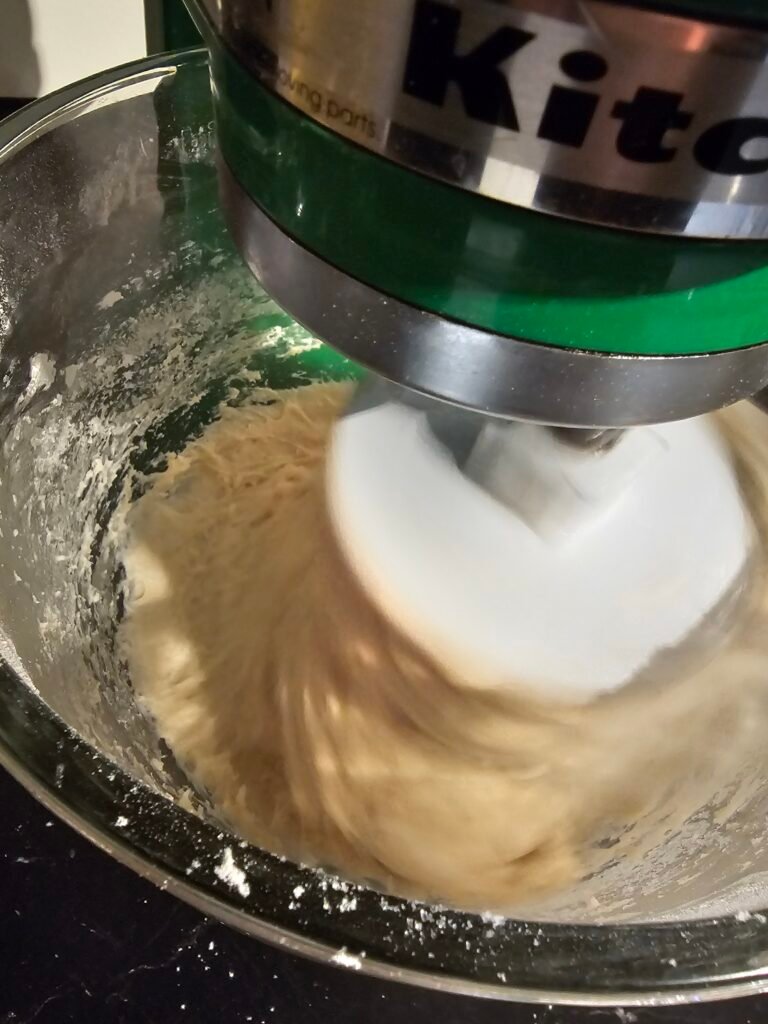
- Slowly add the flour while mixing with a dough hook. We typically start with two cups and slowly add more flour until we hit 6 cups. At that point, we gradually add more flour until the dough starts pulling away from the side of the bowl. Once this happens allow the mixer to knead the dough for a few minutes. Be careful not to add to much flour on this step!
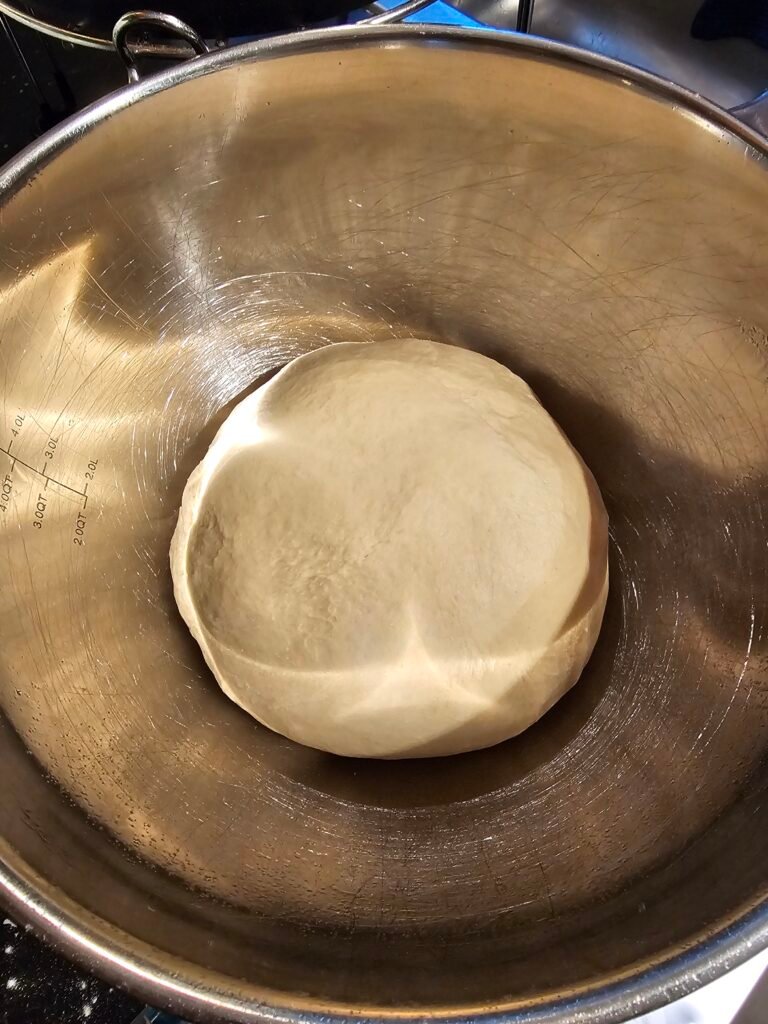
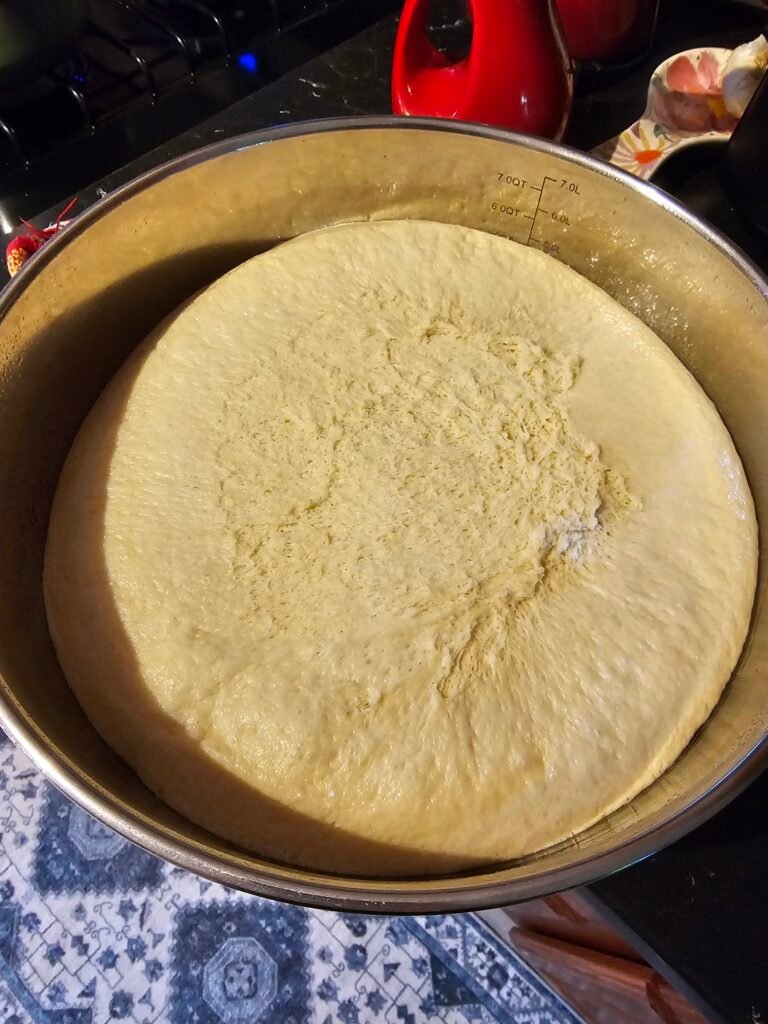
- Meanwhile, grease a large bowl. Knead dough until smooth and satiny and put in greased bowl.
- Cover and let rise in a warm place until double in bulk (or heat oven to 200 degrees then turn off and put dough into oven to rise) and then Punch down. This will typically take around an hour depending on the climate.
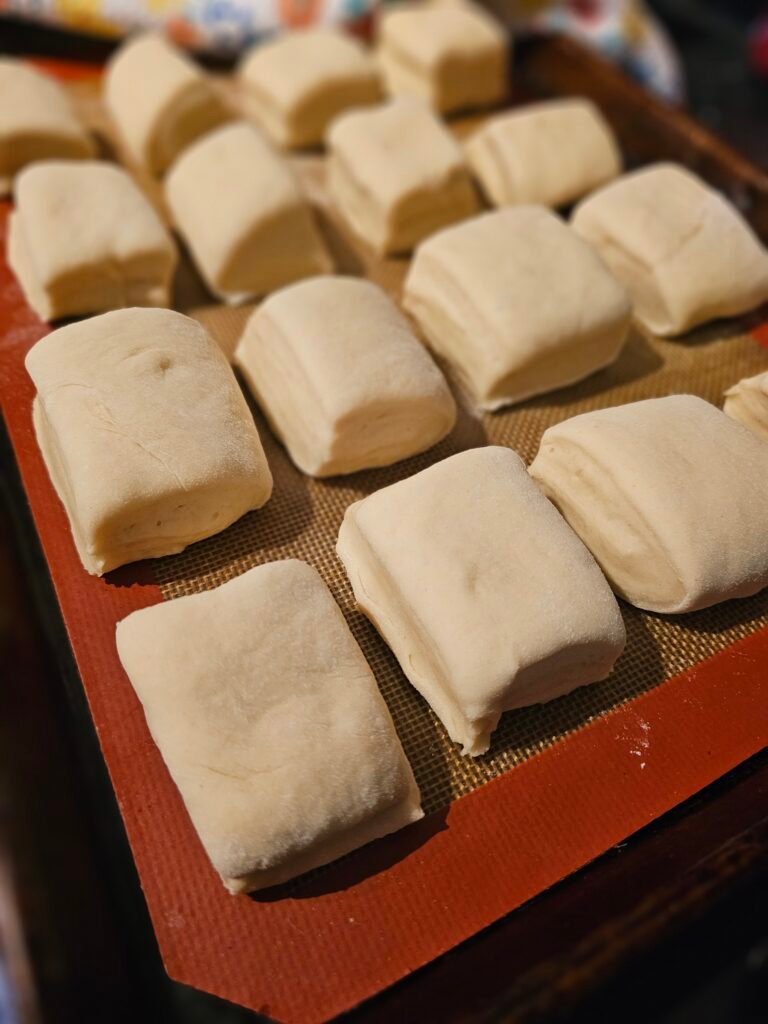
- Turn out onto a floured board. Divide into portions for shaping; let rest 10 minutes.
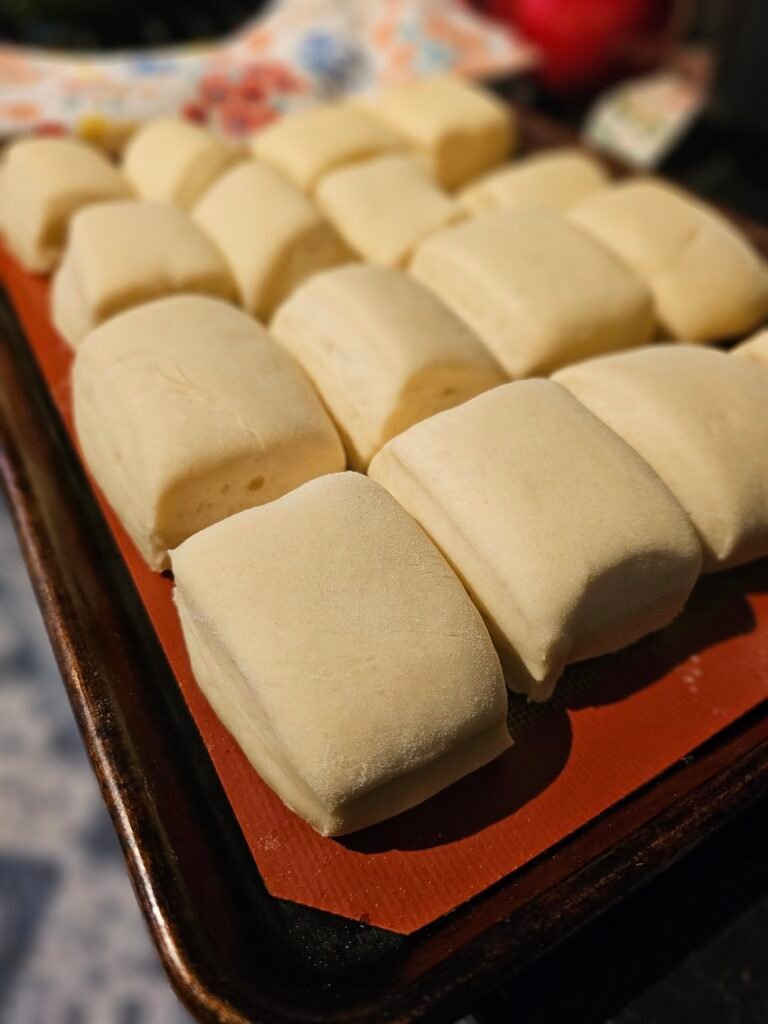
- Shape dough into desired forms. Place on baking sheets. We love to use silicon mats for this part as it works the best, but you can also grease the baking sheets as well. Let rise until doubled.
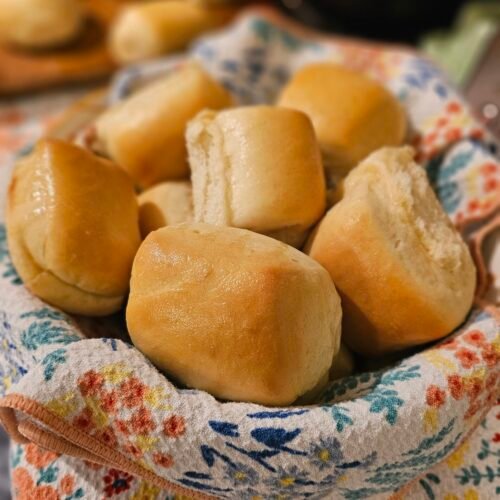
- Bake at 350 degrees for 10-15 minutes or until golden brown. Baste immediately with butter. Serve with Cinnamon Honey Butter (1/2 cup softened butter, 1/3 cup honey, a few shakes of cinnamon whipped with a hand mixer until smooth)
Leave a Reply
You must be logged in to post a comment.