Imagine opening a jar of sun-ripened tomatoes or crunchy dill pickles in the middle of winter—sounds amazing, doesn’t it? For many of us, canning feels like a lost art, but it’s one of the easiest and most rewarding ways to preserve food. Sure, it might seem intimidating at first—what with the special jars and equipment—but trust us, once you get started, you’ll wonder why you didn’t begin sooner. In this post, we’ll break down the basics of canning and show you exactly what canning tools you’ll need to succeed.
Why Get Into Canning?
- Save Money: When fruits and vegetables are in season and cheap, we can preserve them to enjoy all year long.
- Reduce Food Waste: Those extra tomatoes from the garden don’t have to go to waste anymore.
- Healthier Options: Homemade jams, sauces, and soups are free of preservatives and packed with flavor.
- Satisfaction: There’s something deeply satisfying about creating food from scratch and knowing exactly what’s in it.
Canning also gives us a sense of self-sufficiency. It’s a way to take control of our food supply while connecting with traditions from generations past.
The Essential Items for Canning
To get started, you’ll need a few key items. Here’s what we recommend:
- Canning Jars and Lids: These special jars are designed to handle the heat of the canning process and create a vacuum seal. They come in various sizes, so you can choose the right one for your recipes. We have posted some of our favorite sizes and brands in our Shop section if you need some reccomendations.
- Water Bath Canner: Perfect for high-acid foods like jams and pickles, these large pots will typically come with a rack to hold your jars securely. Click the link to check out some of the more popular ones that we reviewed in a previous post.
- Pressure Canner: If you’re planning to can low-acid foods like vegetables or meats, this is a must-have for safety. We aslo created a post reviewing some of our most reccomended pressure canners, you can see those by clicking on the link.
Helpful Canning Tools
While not strictly essential, these tools make the canning process much easier. These are the top three that we reccomend for each one. We tend to focus more on quality and affordability, but there are always options that have more bells and whistles for a little more money.
Jar Lifters
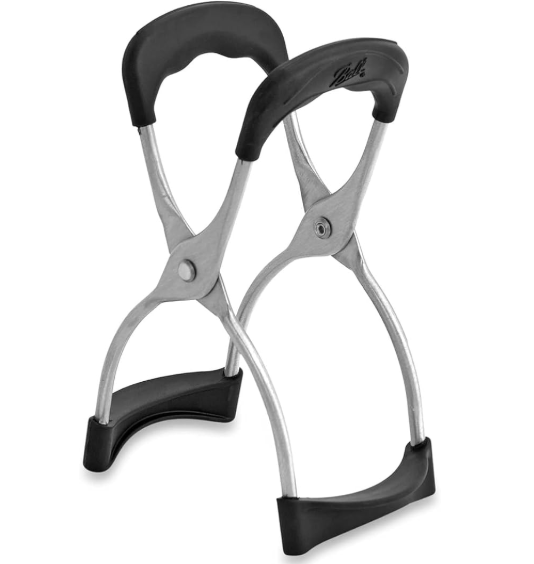
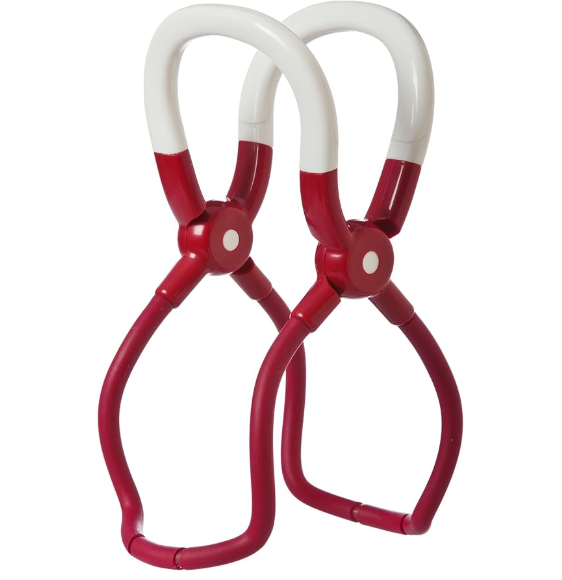
Jar lifters rank up there as an essential tool to have in our books because it makes loading jars into the canner much easier and prevents very hot water from splashing out and causing a mess… or worse, burning someone.
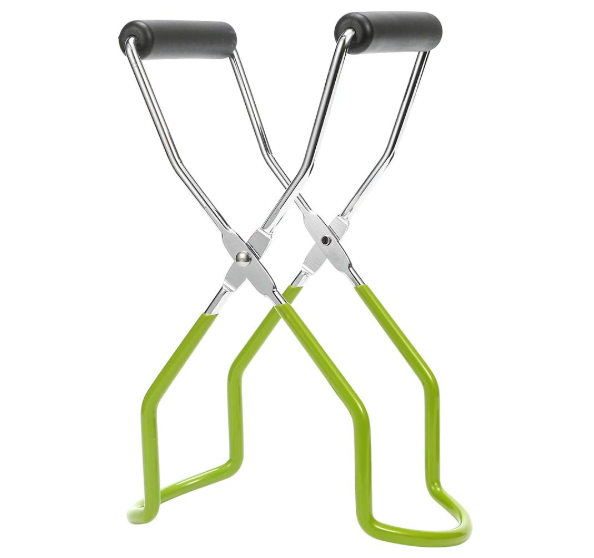
Crystal Lemon Jar Lifter: There are many different brands that make a jar lifter that will look pretty much identical to this one. It is a simple and easy to use jar lifter that is very inexpensive. We have used one that looks exactly like this for years and it is still going strong.
Ball Jar Lifter: This jar lifter is the more expensive of the three but comes from a very trusted Ball name brand. It is built to be extra sturdy and has a very ergonomic and easy to use grip that will aid in better handling of jars when going through the canning process.
Prepworks Jar Lifter: The middle of the road option in terms of affordability, the Prepworks jar lifter has a more curved handle that allows for empying the jar you are holding a little easier. It is also spring loaded that makes for easier handling when grabbing jars over and over and is also dishwasher safe for easy clean up.
Magnetic Lid Lifters
When boiling the mason jar lids to sanitize them, pulling them out of the hot water can be a real pain. That’s where these lid lifters come into play, they are inexpensive and make this part so much easier.
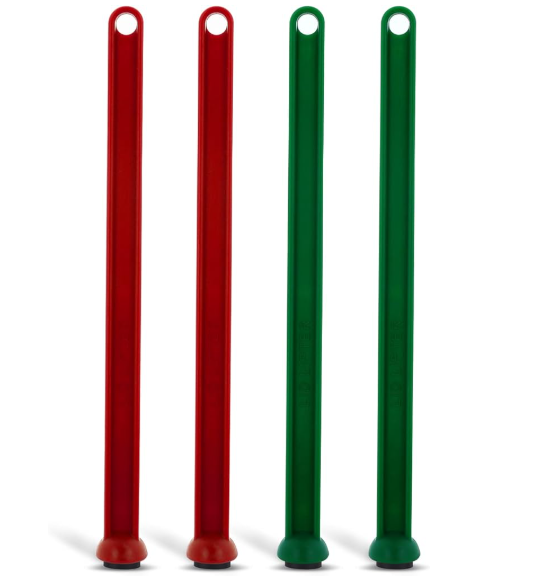
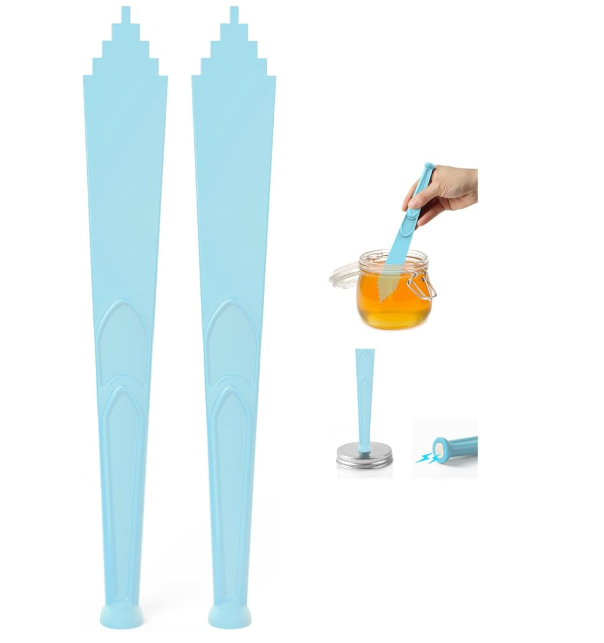
Aster Magnetic Lid Lifter: These are the least expensive and work perfectly fine when grabbing lids. This is what we typically use, and if they ever break they come in a four pack so it’s not a big deal.
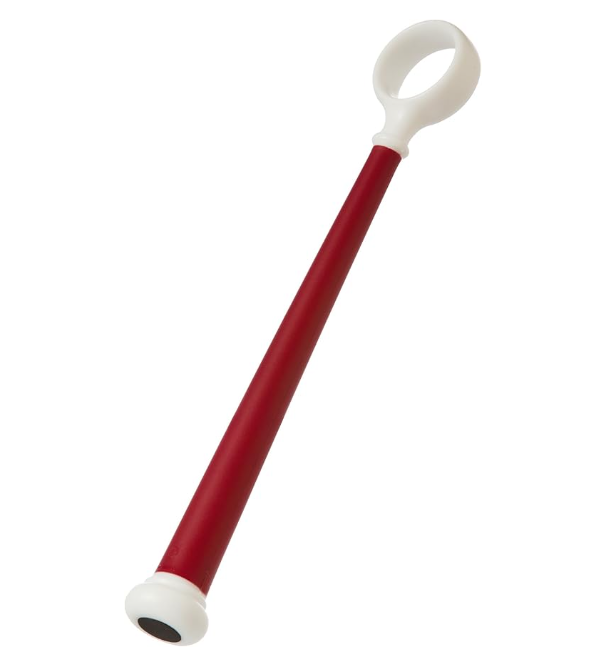
Prepworks Magnetic Lid Lifter: The Prepwork version of this tool is a much sturdier model and is much less likelt yo break. The only downside is that one of these costs about the same price as the four pack Aster version.
Pisol Lid Lifter and Bubble Popper: If you are looking to get an more effecient option, the Pisol two in one combo has the magnetic lid lifter and a bubble popper. This could be a great option if you want to use both tools.
Funnels
Funnels are pretty self explanatory, but they make pouring so much easier when filling jars. We definately reccomend these so that you can avoid a mess and streamline your canning process.
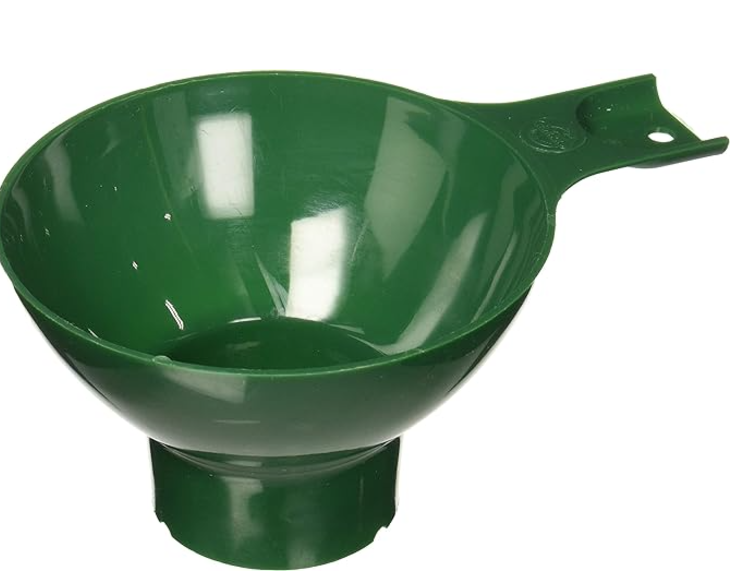
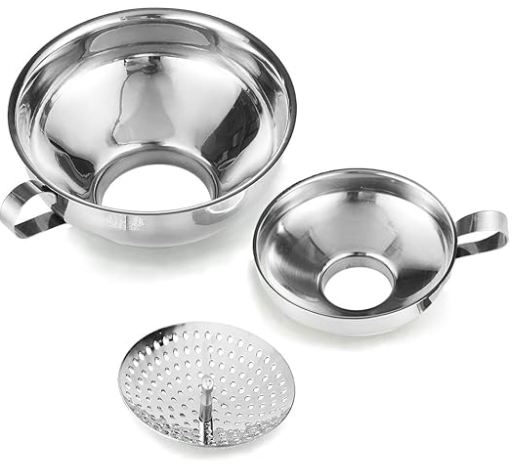
Norpro Plastic Mason Jar Funnel: If you are looking for the most inexpensive version of this tool then the Norpro is a great option. It fits pretty much any jar and makes pouring much more convenient. We have used one of these for years and it still functions perfectly.
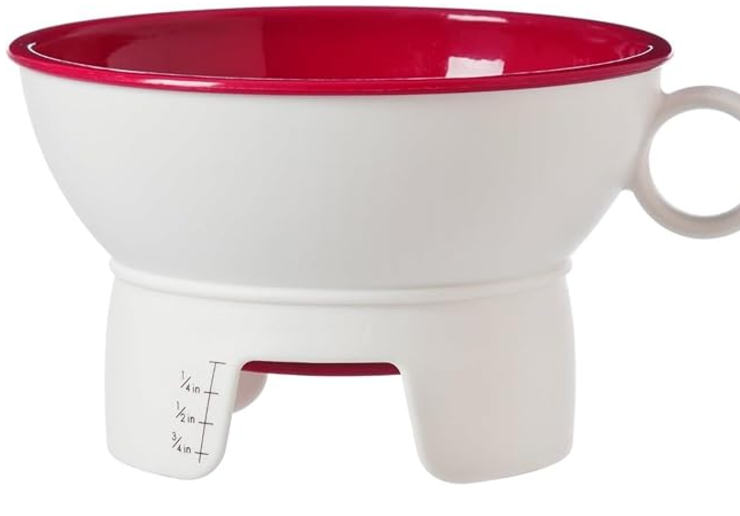
Prepworks Plastic Mason Jar Funnel: This model is slight more expensive, but is made of a much more sturdy type of plastic. This means it will be less prone to warping with hot liquids and it even has built in headspace measuring.
Delove Metal Mason Jar Funnel: If you are looking to get an more effecient option, the Pisol two in one combo has the magnetic lid lifter and a bubble popper. This could be a great option if you want to use both tools.
Bubble Popper / Headspace Tool
Headspace is pretty important when canning because it allows for whatever you have in your jar to expand and can properly. The rule of thumb is typically leaving an inch of headspace, but these headspace tools take the guesswork out of it and also double as a bubble popper.
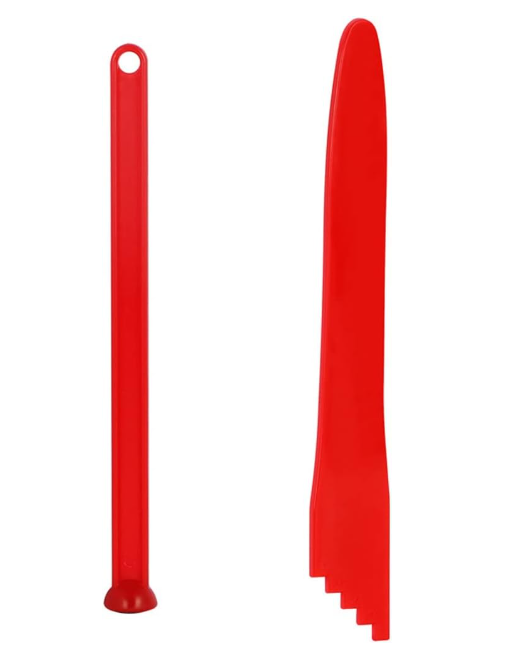

Aifeier Bubble Popper and Lid Lifter: There are many different brands that will offer this inexpensive version of the bubbler popper and headspace tool, and most of them will come with a lid lifter. This is a great option if you are just getting started and want to grab two great tools at once.
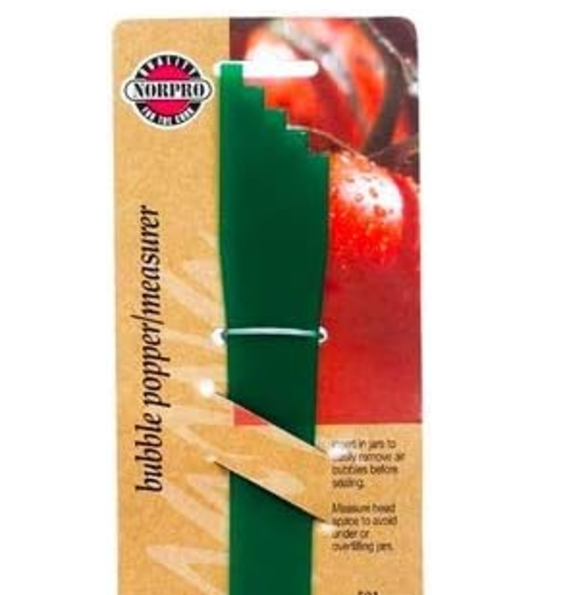
Norpro Bubble Popper And Measurer: The Norpro bubble popper is slightly more expensive but comes in a sturdier plastic and is more likely to outlast the cheaper models by quite a bit.
Pisol Lid Lifter and Bubble Popper: We mentioned the Pisol bubble popper earlier because it doubles as a lid lifter also. If you want to grab a tool that has multiple functions, this is the one you want.
Lid Opener
Lid openers are definately more of a convenience than a necessity, but if you have ever tried to open a stubborn mason jar lid you will wish you had one. These make removing the lids much easier, and they are specially designed to prevent the lid from bending so you can re-use it later.
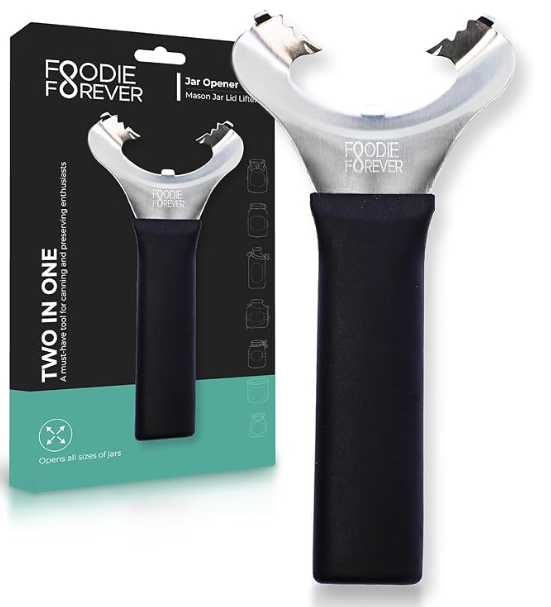
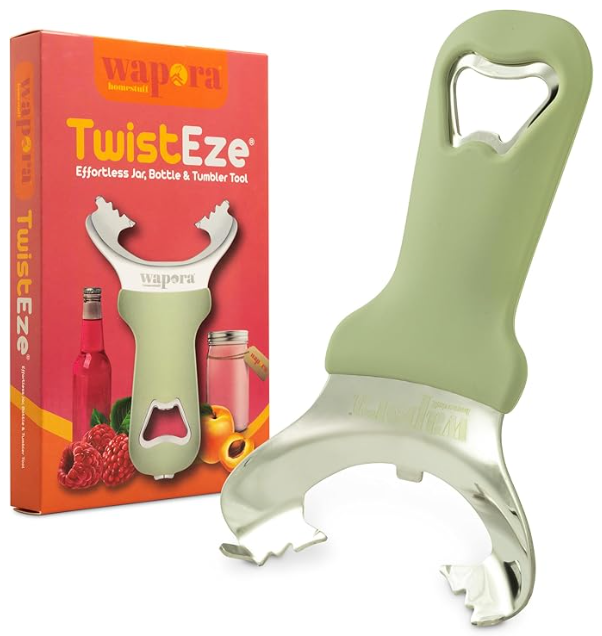
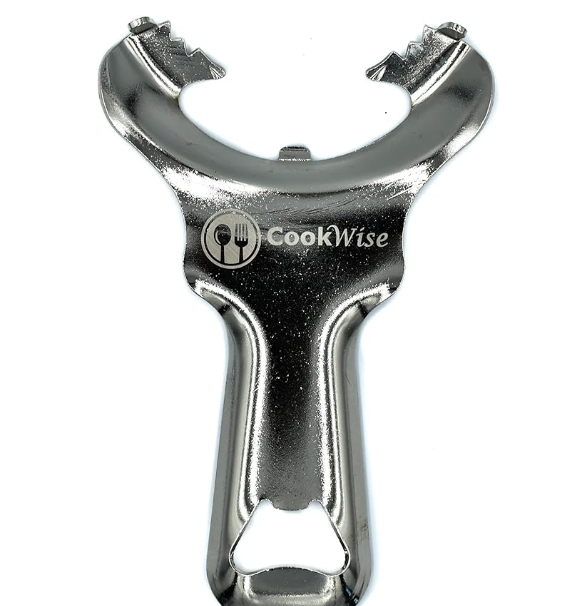
Foodie Forever Mason Jar Opener: The Foodie Forever is a stainless steel model that comes in at the cheaper of the three. Made to prevent damage to the lid when removing it, it can remove two different types including vacuum sealed jar lids and canning lids.
TwistEze Mason Jar & Bottle Opener: The TwistEze comes in a more vintage look and is also made of stainless steel with a more ergonomic grip with a soft touch handle. It is slightly more expensive than the Foodie Forever version, but has a nicer look and handles just a bit easier.
CookWise Mason Jar Lid Opener: The CookWise lid opener is the most expensive of the three but has such a sturdy build that they claim it is “made to last a lifetime.” Made of stainless steel it can also open multiple different types of lids and is designed to prevent lid damage as well.
Canning Scoops
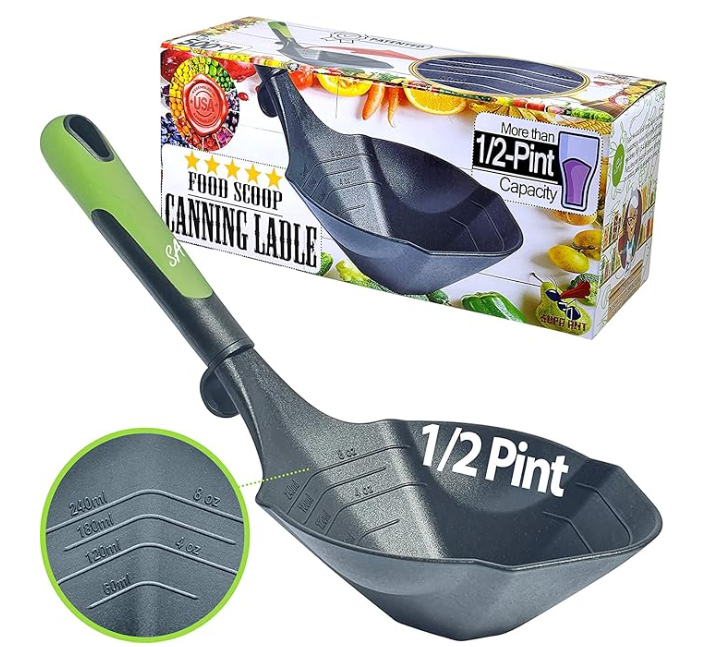
Another item that is definately more a of a convenience, a propper canning scoop will aid in adding your food items into each jar much easier. A regulare large ladle will work just fine, but a canning scoop is made specifically for pouring into jars, and some models have have measurements built in.
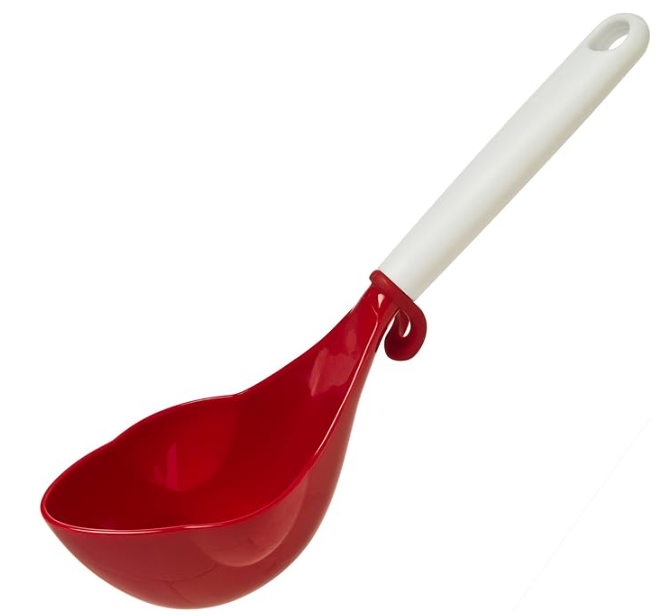
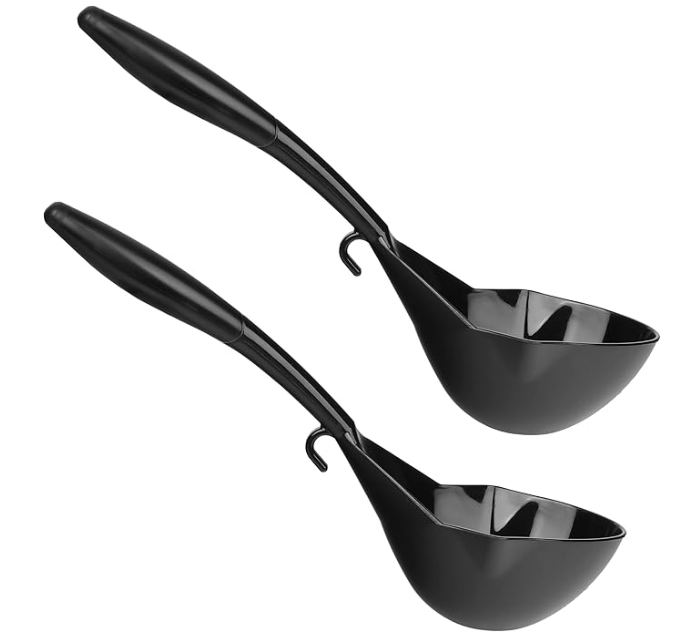
PrepWorks Canning Scoop: Although this large capacity scoop by PrepWorks has the cheapest price tag of the three, it is made of a very sturdy plastic and the spoon is angled so that it can easily grab from the corners of most pots.
Supa Ant Canning Ladle: The Supa Ant canning laddle is slight more expensive but has a very large spoon and also has measurements built in making it easier to pour the proper amounts.
Impresa Canning Ladle Set: The Impresa canning scoop is the most expensive choice of the three, but it comes with two ladles. The build in pour spouts make for easy pouring and can also serve as a serving spoon based on its design.
Items That Are Nice to Have When Canning
Once you’ve got the basics, consider adding these extras to your canning toolkit:
- Stockpot: Ideal for preparing large batches of food before canning.
- Kitchen Scale: Helpful for measuring ingredients precisely, especially for recipes that call for exact weights.
- Dissolvable Labels: These make it easy to keep track of what’s in each jar and when it was canned, and these particular ones will dissolve when you wash them so that your jars do not get ruined.
Tips for Successful Canning
- Follow Trusted Recipes: Safety is key, especially for low-acid foods.
- Start Small: Try canning a batch of strawberry jam or pickles before moving on to more complex recipes.
- Sterilize Everything: Clean jars and equipment are crucial for safe and successful canning.
Ready to Start Canning?
Canning is one of those skills that’s not only practical but also incredibly rewarding. With the right tools and a little practice, we can stock our pantries with delicious, homemade goodies to enjoy year-round. So, let’s grab some jars, roll up our sleeves, and get started on this tasty adventure. Happy canning!

Leave a Reply
You must be logged in to post a comment.