Have you ever wondered what it would be like to make your own butter? It might sound like an old-fashioned chore, but trust us—it’s simpler than you think and the results are well worth the effort. Fresh, homemade butter from raw milk is creamier, richer, and healthier than anything you can buy at the store. Plus, there’s something magical about turning a basic ingredient into a kitchen staple.
In this post, we’ll guide you step-by-step through the process of how we make butter from raw milk, share why it’s healthier and tastier, and give you creative ideas for using the buttermilk byproduct. Ready to roll up your sleeves? Let’s dive in!
Why Homemade Butter is Worth It
Making your own butter isn’t just about the nostalgia of simpler times—it’s about health, taste, and control. When you make butter at home, you know exactly what’s in it. No preservatives, no additives, just pure, wholesome goodness.
The taste difference is undeniable. Homemade butter is fresher, richer, and has a silky texture that’s hard to replicate with store-bought varieties. You can even tailor it to your liking—add a pinch of salt or experiment with herbs for a unique twist.
And let’s not forget the satisfaction of knowing you made it yourself. It’s surprisingly cost-effective and a fantastic way to make use of raw milk if you have access to it.
Step 1 – Skimming the Heavy Cream

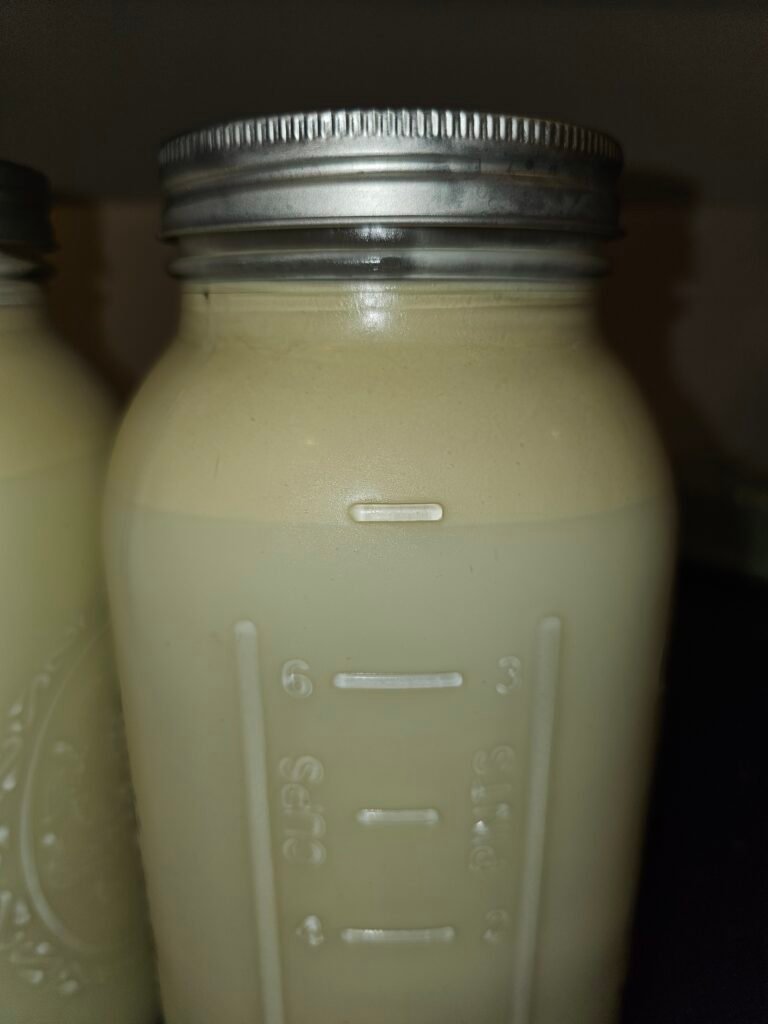
The first step in making butter is skimming the heavy cream from your raw milk. This requires a little patience, but it’s very easy. You can use a turkey baster to make quick work of it, or a large spoon or ladle works just fine.
Start by letting your raw milk sit in the refrigerator for at least 24 hours. During this time, the cream will naturally rise to the top. Once you see that thick layer of cream, gently skim it off with a spoon or ladle. Try to collect about a quart of cream for this process.
Step 2 – Whipping the Cream
Now that you have your cream, it’s time to turn it into butter! Place the cream in a blender with a whisk attachment. Make sure to cover the blender with a clean dish towel to prevent splatters (trust us on this one). We like to use our Kitchen Aid mixer as it has a larger capacity and works really well for this process.
Set the mixer to medium-high speed (we use speed 8 on our mixer) and let it run. At first, the cream will start to thicken and form whipped cream. Resist the urge to stop here; the magic is just beginning.

Step 3 – From Whipped Cream to Butter
As you keep mixing, you’ll notice the whipped cream begin to curdle and separate into two parts: butter and buttermilk. This process can take about 15 to 20 minutes, so be patient and let the mixer do its thing.
Once the separation is clear, it’s time to collect your butter.
Step 4 – Separating and Forming the Butter
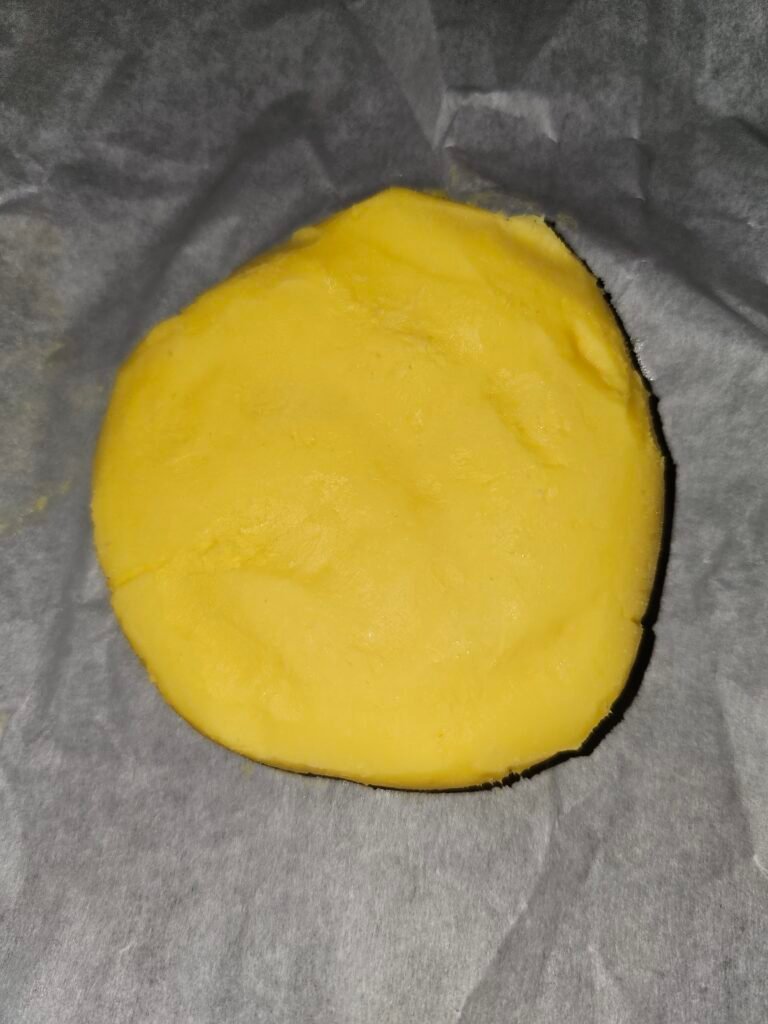
Using clean hands, gently gather the curdled butter into a ball. If you prefer, you can also strain it out using cheesecloth or a fine mesh strainer. Either way, you’ll be left with a beautiful golden mass of fresh butter.
Step 5 – Washing the Butter
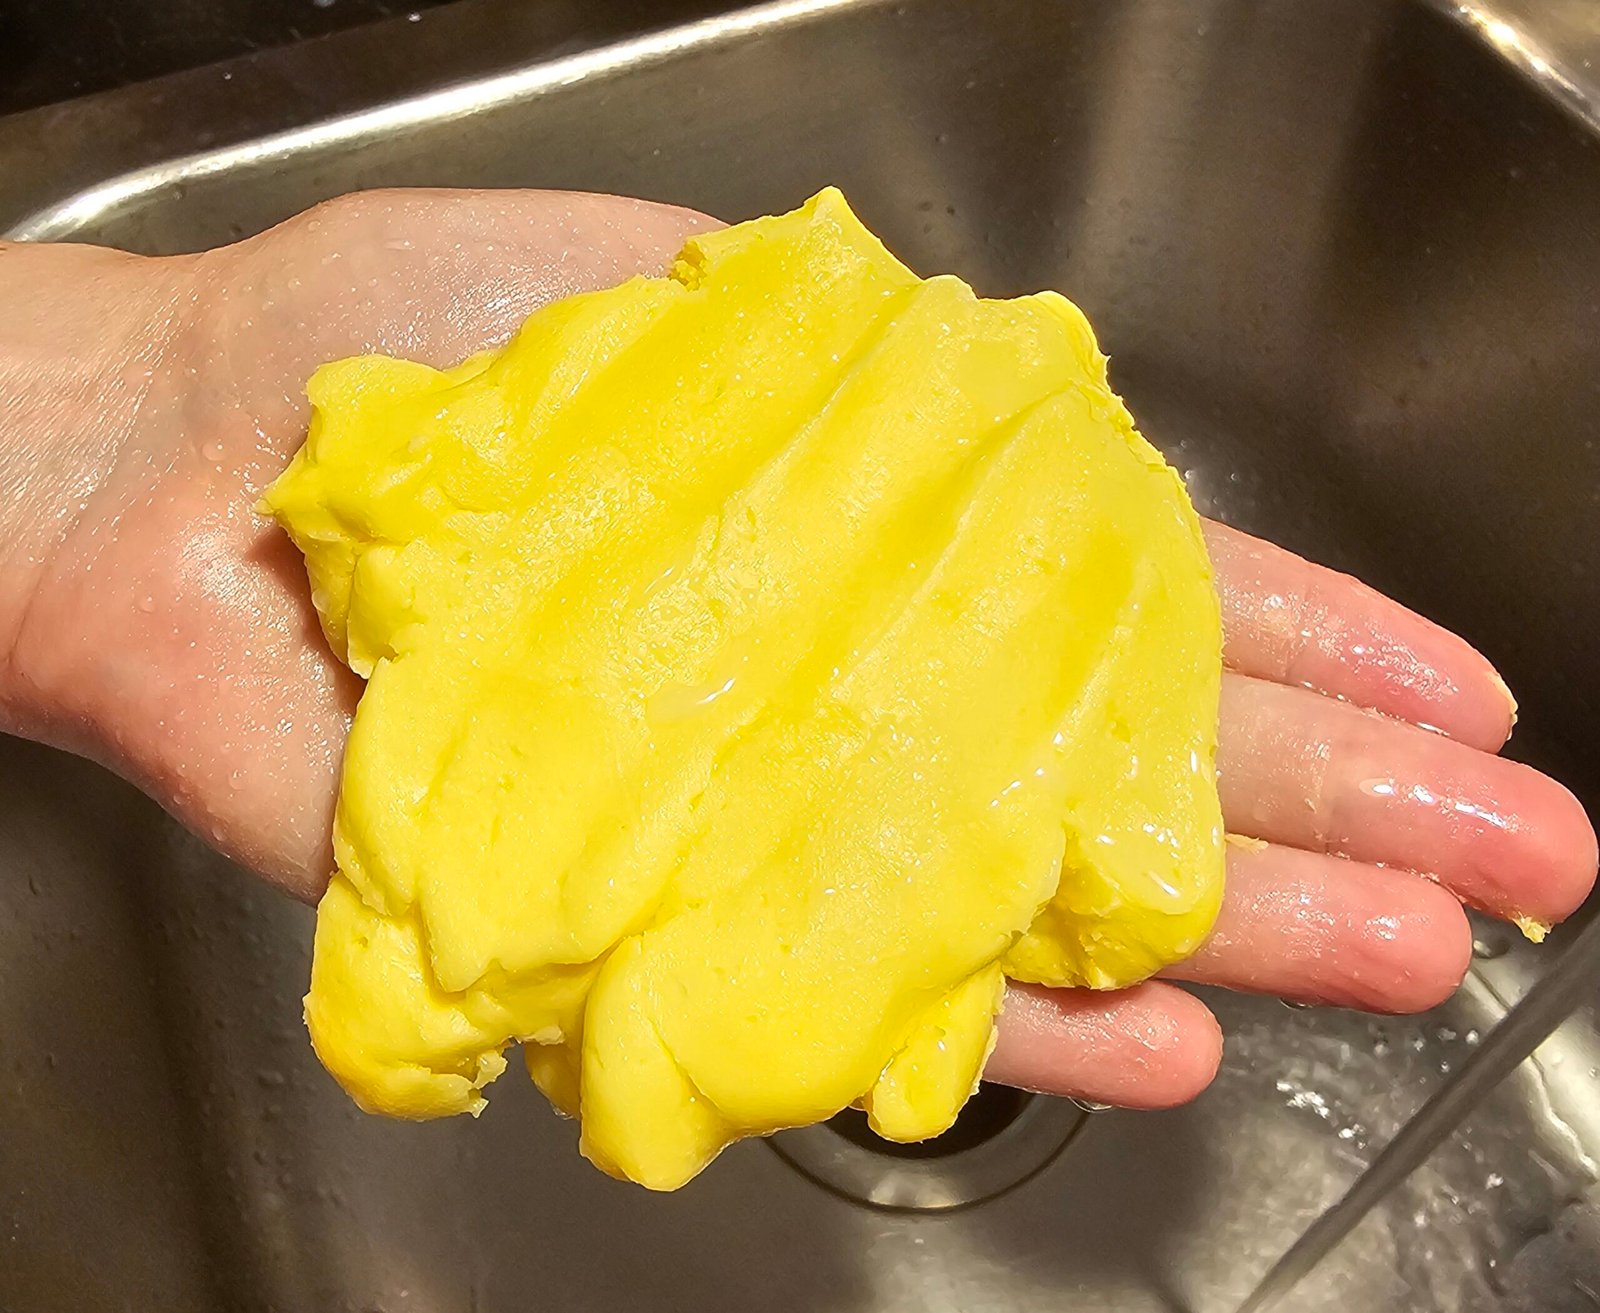
To ensure your butter stays fresh longer, you’ll need to wash out any remaining buttermilk. Rinse the butter under cold running water or place it in a bowl of cold water and knead it gently. Repeat this process until the water runs clear.

Step 6 – Adding the Finishing Touches
Now comes the fun part—customizing your butter! If you like salted butter, add a pinch of salt and knead it in evenly. For unsalted butter, you’re all set. Wrap your finished butter in parchment paper and store it in the fridge.
Making the Most of Your Buttermilk
Don’t throw away that buttermilk! It’s a treasure in itself, full of flavor and nutrients. Here are a few ideas for using it:
- Baking: Buttermilk is the secret to fluffy pancakes, biscuits, and muffins.
- Marinades: Use it to tenderize chicken or pork for a juicy, flavorful meal.
- Dressings and Smoothies: Add a tangy kick to salad dressings or a creamy texture to your favorite smoothie recipe.
Conclusion
Making homemade butter from raw milk is a rewarding process that connects us to the roots of traditional cooking. Not only does it taste better, but it’s healthier and more satisfying than buying it from the store. With just a few simple steps, you can transform raw milk into creamy butter and find creative ways to use every part of the process.
If you are curious about the benefits of raw milk vs. what you buy at the store, check out our article on this very subject by CLICKING HERE!


Leave a Reply
You must be logged in to post a comment.